Does chrome keep crashing on Windows 10? Well, don’t worry on this post I will talk about why Google Chrome crashes and how to fix this error easily.
Google Chrome is, along with Firefox, the most used browser around the world. Its unprecedented popularity is based on its speed of navigation, the possibility of adding extensions and of course, the fact of integrating all Google products when linking to Gmail.
However, Chrome is not fail-safe, and the browser also has unexpected errors that can ruin your day. One of the most common is that Chrome keeps crashing within a few seconds on Windows 10.
The fact that Chrome keeps crashing is a difficult error to fix. Restarting the device or modifying browser compatibility settings will not solve the problem. Using the Windows troubleshooter will not prevent the browser from closing itself.
But don’t worry because there is a reliable method to prevent Chrome from crashing on Windows 10.
Why Does Chrome Keeps Crashing?

As I have already told you, one of the critical factors in Chrome’s popularity is that the browser has one of the best extension stores of the moment. These tools that you add to the browser are handy, but on some occasions, they can generate the occasional problem.
If you’re a fan of adding extensions to Chrome, you may have already found the root of the problem of why Chrome crashes.
Keep in mind that each of these extensions decreases the performance of your device by increasing the consumption of RAM and CPU. That is, the more extensions you have installed, the more likely it is that Chrome will crash.
Disable All Extensions on Google Chrome
To fix this error, you will need to run Google Chrome with the extensions disabled.
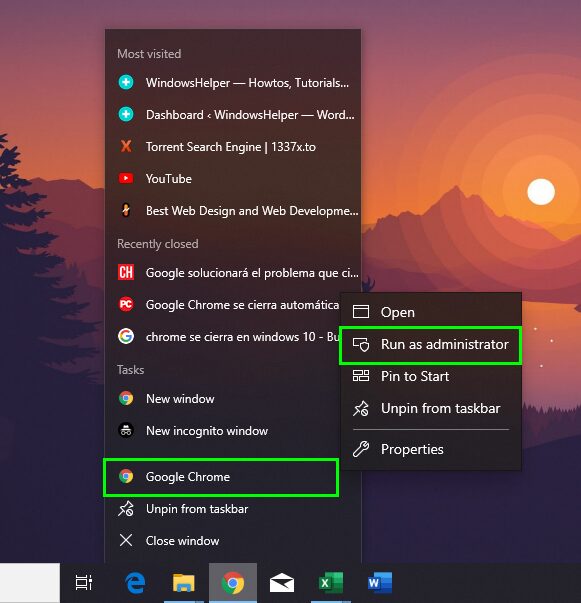
If you have pinned Google Chrome in the taskbar, right-click on it to display all the options and, on Google Chrome, right-click again to open Properties.
The next thing you need to do is change the Google Chrome launch options, to do that go to the end of the line Target, there add the following -disable-extensions, remember to leave a space between the text.
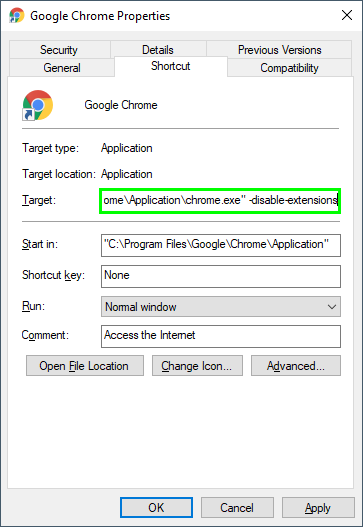
Finally, click on Apply and OK and run Google Chrome.
By doing this, the Google Chrome web browser will run next time without extensions. They will still be installed, but they will all be disabled. From here, you can start testing by disabling one by one check, which is causing problems in the browser.
Disable Sandbox Mode
Google Chrome is one of the best browsers thanks to its features. One of those is the Sandbox mode that it is enabled by default on 64-bit computers but that can create conflicts and crashing issues on Windows 10.
Sandbox is used to make your computer more secure and avoid certain attacks, therefore if you want to fix the crashing problem, you can try to disable it following these steps:
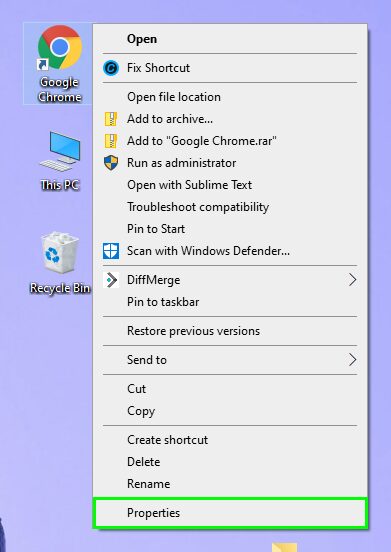
- First, navigate to the Windows Desktop or the Taskbar, wherever is located the Google Chrome shortcut
- Rightclick on the shortcut and select the option Properties
- In the window that opens, navigate to the Target box and there copy the following flag to the end of the line, adding a space: –no-sandbox

- Click on Apply and OK to save the changes and then launch Google Chrome using that shortcut
- Surely this time, the browser would not crash
Use Google Chrome for 32-bit
If you are low in memory and you are using a Windows 64-bit version, maybe you need to try installing the 32-bit version to avoid the crashing issue.
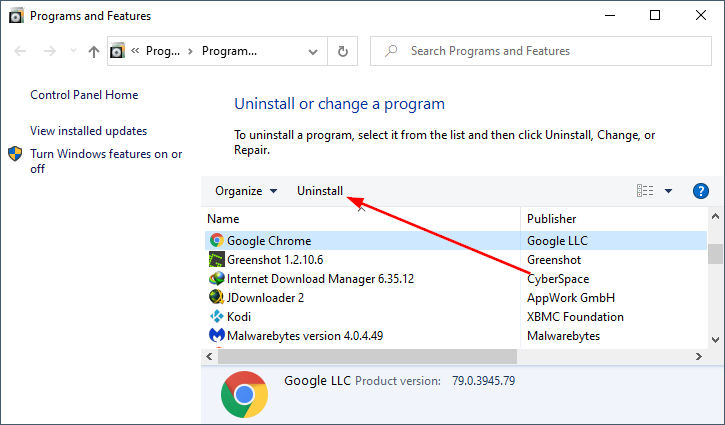
- To reinstall Google Chrome 64-bit, you need to open the Control Panel
- There click on the line that says Uninstall a program
- Now you need to locate the Google Chrome program and click on the button Uninstall
- Follow the wizard until you finally uninstall Chrome
- You will need to open the default browser on your Windows PC and there visit the following website.
- There you need to make sure that you are downloading the 32-bit version and then install the program as usual.
https://www.google.com/intl/en_us/chrome/
Scan for Viruses
Does Google Chrome keep crashing after trying all the solutions above on Windows 10? Maybe your computer is infected by some virus or malware that is creating conflicts.
To fix this issue, you can try to scan your PC using a third-party antivirus or even the Windows antivirus.
For example, on my computer, I have installed the Avast Free Antivirus. When opening the Avast Control Panel, you can see a button that says Run Smart Scan.
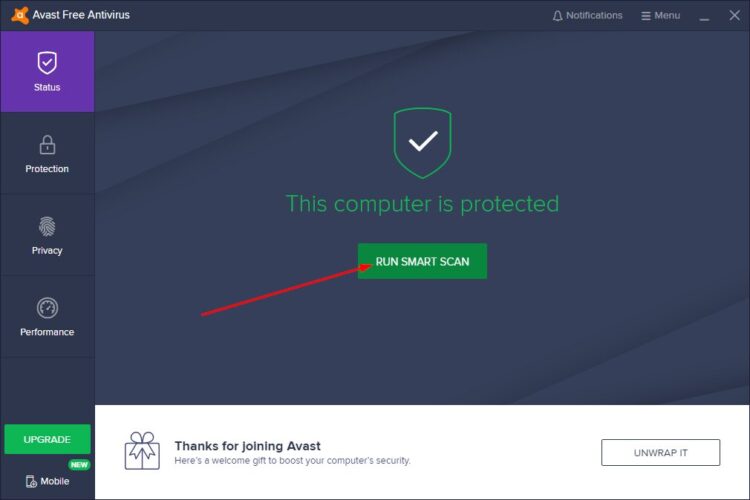
You can use that option right after launch Google Chrome to let the antivirus find the virus quickly and remove it from your computer.
Wrapping Up: Google Chrome Keeps Crashing on Windows 10
As easy as following the steps I show you above, you can fix this annoying error and be able to surf the web again. Remember that you may also have other things like Malware that install extensions on the browser. So, also use software like Malwarebytes to perform a scan on your system to find any suspicious program.
I hope this tutorial helps you, let me know in the comments section about any question that you have. If you have opening issues on Google Chrome instead, you can follow this guide.