Sometimes, the blue screen of death errors can ruin the day of a Windows user. Bad Pool Header is a widespread BSOD error and can appear randomly in any version of windows. But, recently, many Windows 10, 8.1, and 8 users have reported this problem. Therefore, in this article, you will know about some ways to fix this issue.
Like other blue screen errors, it can be caused by any hardware or software failure. If you use any incompatible antivirus or application, that can create BSOD in this way. When you find this error, you should remember what the last thing you did before finding the blue screen of death.
It can be a Windows update or a driver update, and it may be a hardware replacement, etc. If you can find out the possible reason behind this problem, it will be easier to fix it.
This blue screen of death may appear temporarily. After restarting the computer, it may disappear. But sometimes it can become a nightmare. If this blue screen error occurs frequently or entirely prevents you from accessing your PC, you will need to use a recovery disk or flash drive like on this guide.
If you can boot your computer for some time before the blue screen of death appears, you can try the following methods.

Method #1: Update Drivers and Windows
Try to update your drivers with the latest version. Update your windows too. If you are using the latest drivers, then find out which drivers are incompatible with your version of Windows. After that, remove these incompatible drivers.
You can update the drivers from the device manager following these steps:
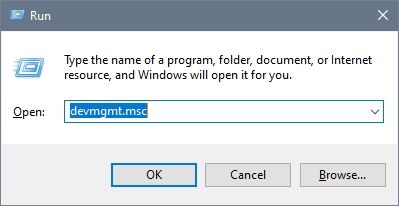
- Press the Win + R keys from the keyboard.
- In the window that opens, copy the command
devmgmt.mscand press Enter.
- Now, you will see the entire list of drivers in a new window.
- Right-click on any driver that you wish to update and select Update driver
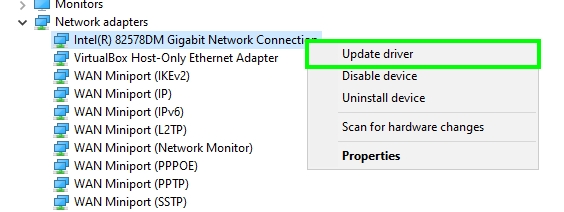
- On the window that opens, you can choose the first option to let Windows search the latest available drivers from the Internet
You can also update your drivers and even the system from Windows Update, to do that follow these steps:
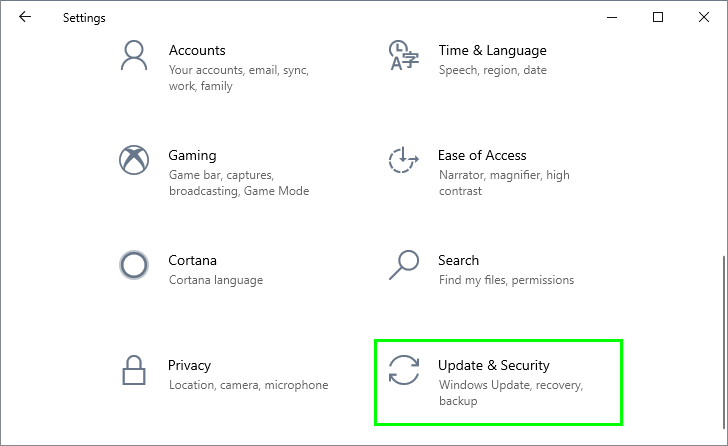
- Press the keys Win + I to open the Windows Settings
- There click on the section Update & Security
- Finally, there click on the button Check for updates
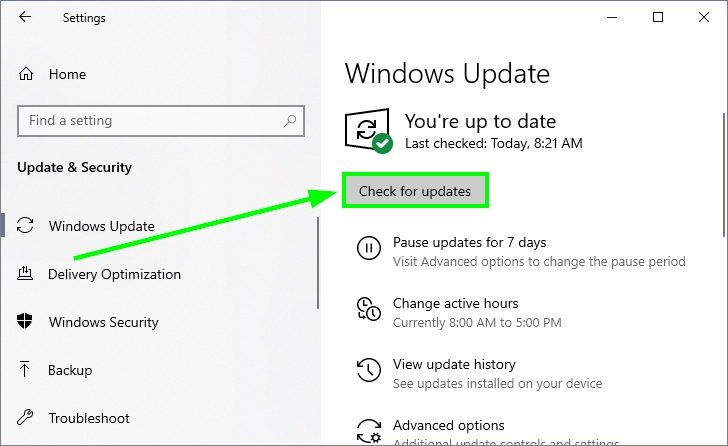
- Windows will start searching updates for the system and also for your devices
- When it finds something, install them all
If you want to update your devices using a more extensive database than the one from Windows Update, you can use a special driver updater. The one that I always recommend is Driver Booster, and you download the program from this link.
- Once you installed the program, click on the button SCAN
- Driver Booster will start scanning all your devices, and then it will search updates
- When it finishes, you will see a summary of all the available updates, and there you only need to click on the button Update Now at the top to install them all at once
Method #2: Disable Search Service in Windows
Disabling the indexing service can fix this bad pool header issue quickly. But to perform this method, you will need to use an administrator account on your computer. Follow these steps:
- Press the keys Win + R to open the Run window and there copy the command
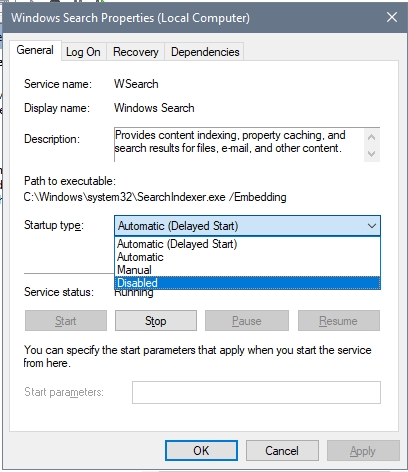
services.msc, then press Enter to open the Services window - Once there, scroll down until you find the service Windows Search and double click on it
- Now, in the Startup type drown down menu select the option Disabled and click on Apply to save the changes
- Finally, restart your computer, and hopefully, this BSOD will be gone for good
Method #3: Disable Security Software
On some occasions, this BSOD error can be caused by third-party antivirus, antimalware, or firewall programs. Therefore, you can disable these programs and see what happens. If, after disabling the security software with the steps that I will leave below you solve the problem, you can thoroughly uninstall that faulty program.
Disable Antivirus
If you have installed some antivirus on your computer, you can disable it easily following these steps:
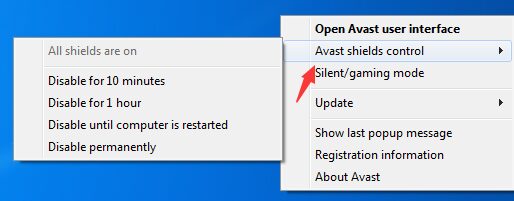
- Navigate to your taskbar, to the right side and there right-click on the icon of on your antivirus
- On the menu that opens, click on the option Disable shield temporarily
- Now, you can verify if the problem has been fixed successfully
Method #4: Check Hard Disk
On Windows, you have a useful utility that helps you to fix errors in the hard disk, and that could be the reason for this BSOD. You can check your hard drive following these steps:
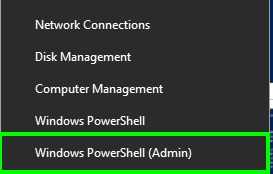
- You will need to open PowerShell as an administrator. To do that, right-click on the Start Menu and in the menu that opens click on Windows PowerShell (Admin)
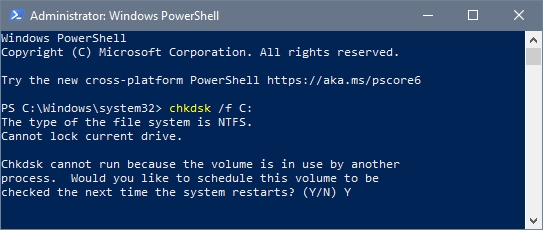
- Once there, copy and run the following command:
chkdsk /f C: - The utility will tell you that it cannot run because the drive is in use and that you can schedule the scan in the next restart. There only type Y to confirm
- Restart your computer and wait for the utility to check your hard disk. Hopefully, when it finishes, the issue will be fixed
Method #5: Memory Check
Sometimes, this error can be caused by a memory problem. So you can try to check your memory to fix this issue following these steps:
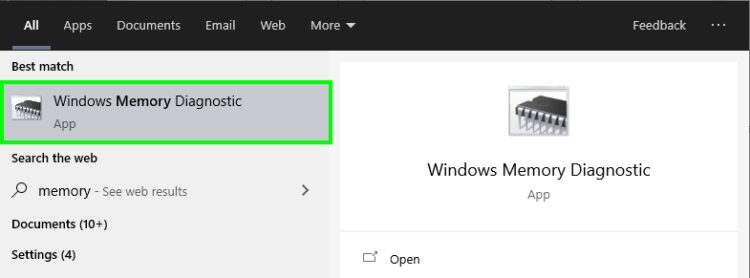
- Press the Win key to open the Start menu
- On the search box, type the word memory
- Now, in the results, click on the one that says Windows Memory Diagnostic
- Windows will ask you for admin rights and click on Yes
- On the window that opens, click on the option Restart now and check for problems
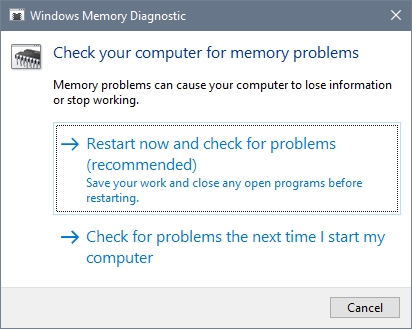
- Finally, wait for the tool to scan your memory and restart your computer
- In this way, you will be fixed this BSOD error on Windows 10 successfully
Method #6: Clean Boot
A clean boot does not correct any windows error. But it helps identify if some third-party programs or services are causing a problem like this BSOD.
You can try to perform a clean boot on Windows following these steps:
- Press the keys Win + R and in the box copy the command
msconfig, then press Enter - Once in the System Configuration utility, navigate to the Services tab
- There, check the box Hide all Microsoft services and click on the button Disable All
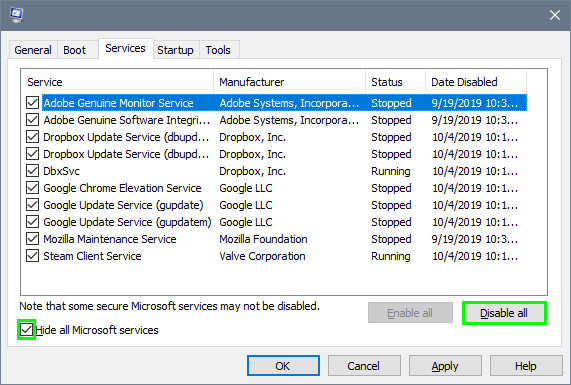
- Click on OK to apply the changes and restart your computer
- Now, if the bad pool header error doesn’t appear again, you need to go back to the System Configuration utility and enable the services one by one while you restart the computer to find the one that is the cause of this BSOD
Method #7: Scan for Virus
Sometimes, malware can create conflicts on your system, and therefore, you always need to scan your computer to remove these unwanted threads.
You can scan your system using the Windows Security antivirus that you have installed by default on Windows 10, but I will recommend downloading Malwarebytes.
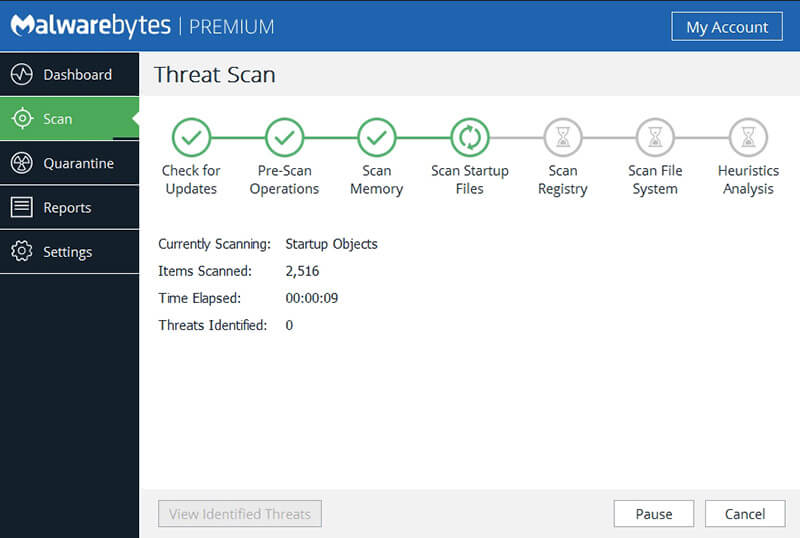
This antivirus can be downloaded for free and doesn’t need to run every time on your computer. You can use only the times that you need to scan your computer.
Method #8: Disconnect Devices
Some users have reported that this BSOD could appear when you have connected some problematic devices on your computer. Therefore, you can disconnect any external hardware except the mouse and keyboard.
Then restart the computer. If this solves your problem, you can connect each device one by one to find the one that has compatibility problems with Windows.
Method #9: Safe Mode
If you haven’t been able to boot your computer, you can try to enter the Safe Mode to restore your system and fix this bad pool header problem once for all.
On older versions of Windows like 7, you can open the Safe Mode pressing the key F8 while booting, but on Windows 8 and 10, the things are different.
To open the Safe Mode on Windows 10, restart your computer, and when it is starting, suddenly turn on the computer or unplug the power source.
After this, Windows 10 will think that are have been some problem starting the system and will boot this time the WinRE and from there follow these steps to open Safe Mode
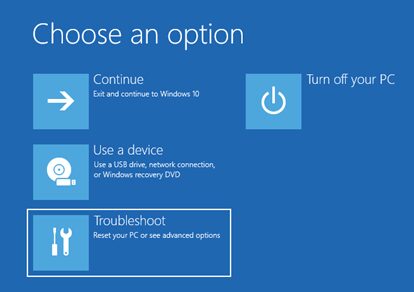
- You will see a blue screen with several options, there click on Troubleshoot
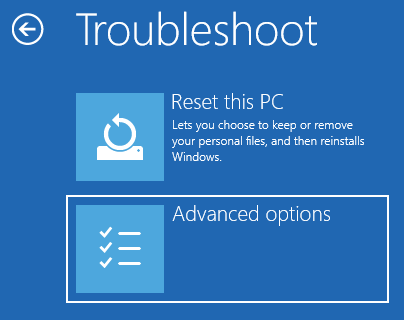
- Now, click on Advanced options
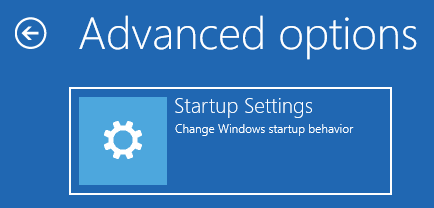
- On this section, you need to click on the option Startup settings
- Finally, there click on the button Restart
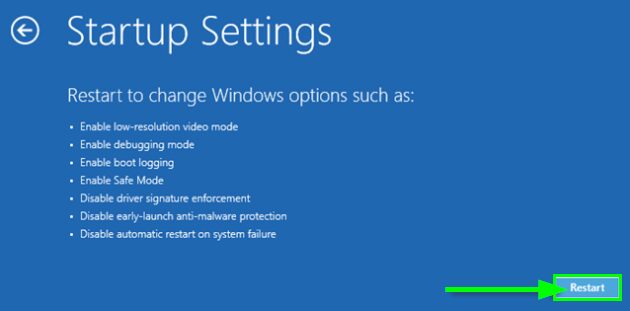
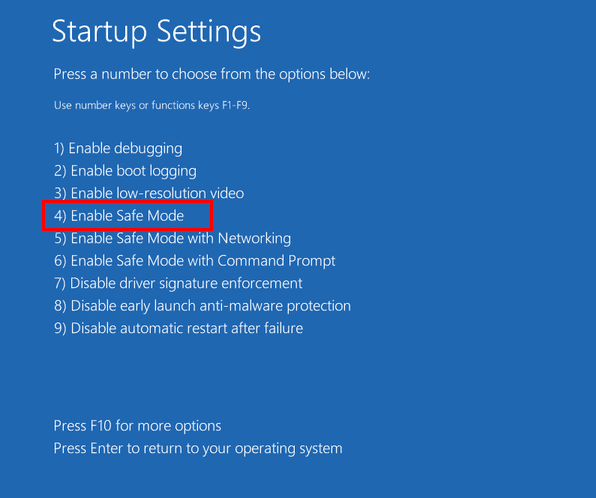
- When Windows start, it will show you several options, and there you can choose the option number 4 F4 to open the Safe Mode
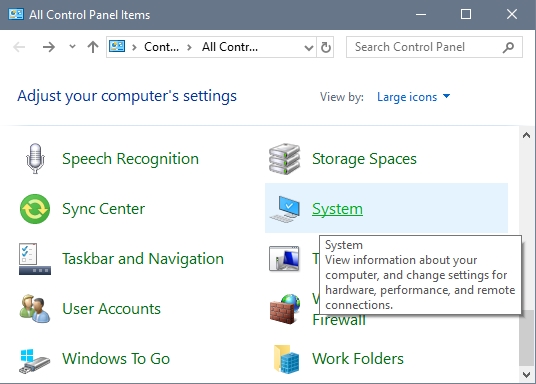
- Once your computer boots without problems in Safe Mode, open the Control Panel
- Sort the view by icons and click on the section System
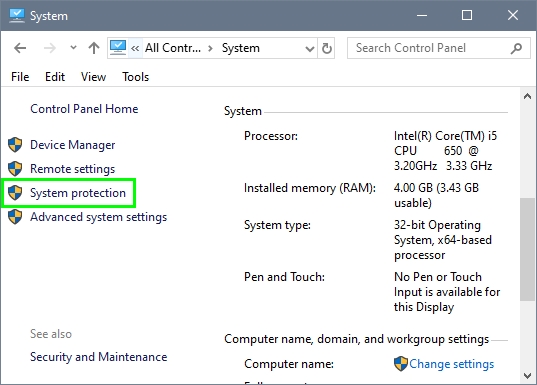
- In the left side menu, click on System Protection
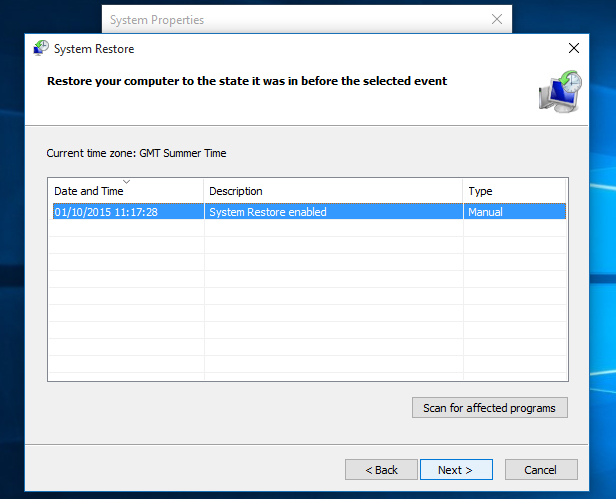
- Now, in the window that opens, click on System Restore
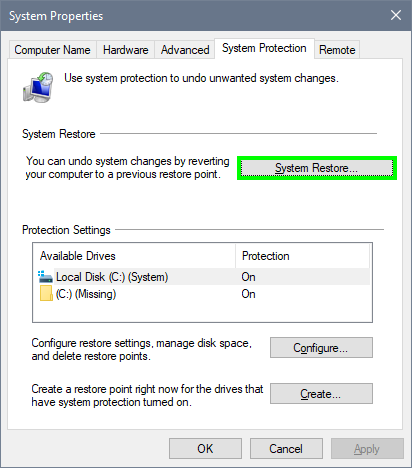
- Click on Next, and you will see a list of available restore points that you can use. Choose one where your computer was working without a problem and click on Next
- Follow the wizard until the process finishes, and hopefully, this annoying BSOD will be fixed
Those were the most common ways to fix this bad pool header error on Windows 10. If you still need help, you can write in the comments section below, but you also can use Microsoft Community Forums. There you can receive multiple replies that could help you in your particular case.
Thanks for reading, here I leave some other Windows-related error: