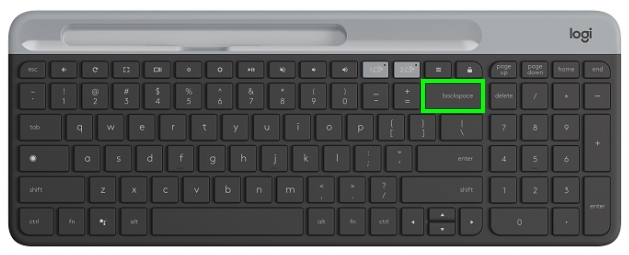
The Backspace key is one of the most used keys and is always required because it lets you correct your mistakes. When this vital keyboard key is not working, you may get frustrated and want to give it a quick solution.
In the following post, I will leave some of the best troubleshooting tips that will help you to fix this issue quickly and continue using this essential key on your computer.
Basic Troubleshooting
Before starting with the methods, you need to perform some necessary troubleshooting steps that will help you to rule out any external problem with the hardware of your keyboard.
If your keyboard has been exposed to some fluid, it is probably the reason why the backspace key doesn’t work. Some keyboards have a built-in reservoir that helps trap fluid in the event of an accident, but it is not foolproof.
Physical damage is another issue and one of the easiest to detect and is often caused by leaving an object on the keyboard. Try to connect your keyboard on another computer and verify that it is working without problems there, then you can try to continue with the next methods that I will leave below.
Cleaning your Keyboard should be your first step when you find any problem with any keyboard. You can clean your keyboard by removing the key and removing any dust or thing stuck in the backspace.
Method #1: Disable Sticky Keys
On Windows, there is one feature that helps people that can’t press more than two keys at the same, to perform some keyboard shortcuts by pressing each key one by one.
When you have issues with the backspace key, it could be because you have enabled this setting on your Windows. Therefore, you will need to disable it, following these steps:
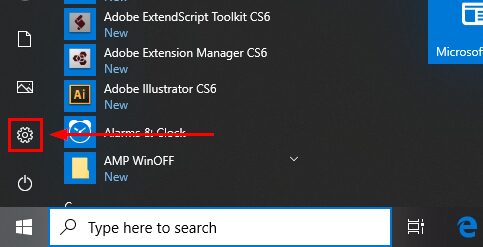
- Open the Windows Settings utility from the Start Menu like in the image below:
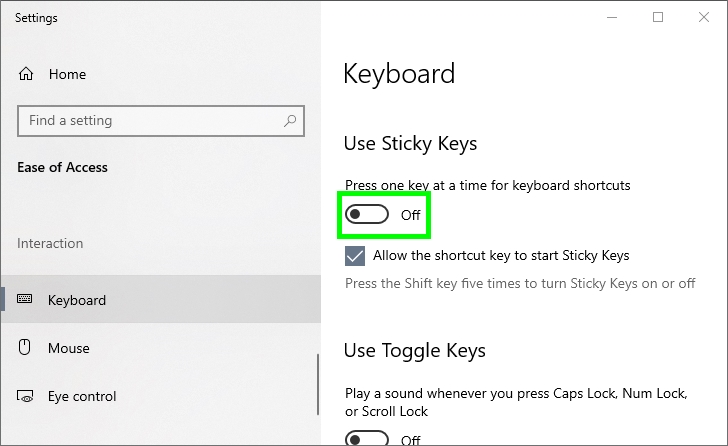
- Once there, navigate to the section Ease of Access
- On the left side, you will see some options and there click on Keyboard under the section Interaction
- Finally, you need to disable the switches, Sticky Keys and also Filter Keys
- When you finish, close all the windows and now test the backspace key to check if it is working
Method #2: Test Keyboard
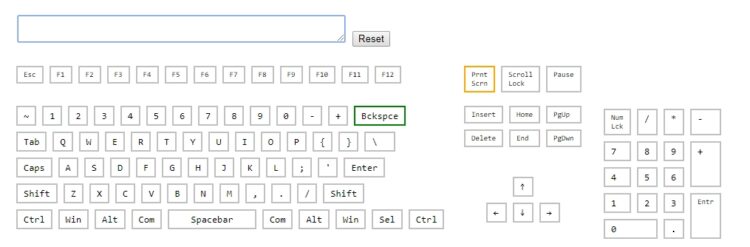
If you can use the backspace already, you need to verify that the key is working in Windows and also on your programs. You can test your keyboard using several methods, but in this case, I will teach how to do it easily with a website.
- Open your favorite website and navigate to the following link
- Now, you need to press the Backspace
- There you should see first a yellow border and then a green one on the website. That will tell you that the keyboard is working without issues. Otherwise, you should repair your keyboard or replace it.
Method #3: Reinstall Keyboard
You haven’t been able to fix the backspace key so far? Well, don’t worry because you have some other solutions and fixes that you can try, like reinstalling the drivers.
When you have driver issues in your computer, that could be causing the backspace problem; therefore, you need to reinstall the drivers following these steps:
- Press the keys Win + R to open the Run window and there copy this command:
devmgmt.msc - Now, click on OK or press Enter to open the Device Manager
- Find and open the section Keyboards and there right-click on your keyboard
- In the menu that opens select the option Uninstall device
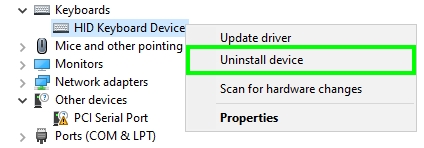
- Finally, restart your computer, when Windows boots it will install your keyboard drivers automatically, and hopefully, you will be able to use backspace key again
Method #4: Update Keyboard Drivers
With some of the new keyboard and also the gaming ones, you will need to install some individual drivers that will let you use it without problems.
You can try to find your drivers from your vendor website and their support page, although it can be a complicated process because you may need to navigate multiple trough pages to download some drivers.
For that case, you can try to update your keyboard drivers using a driver updater. One of the most recommended and that I always use is Driver Booster.
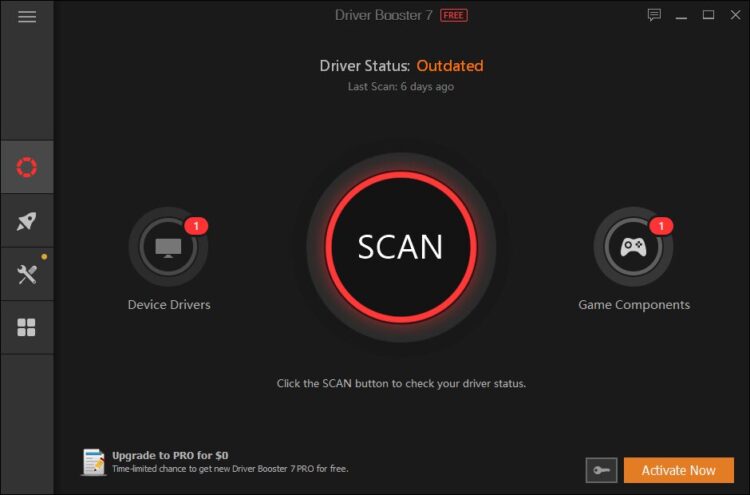
Once you download and install the program on your computer, click on the button that says Scan. The program will start to scan your devices, and it will detect your keyboard.
Then you will see a list of the available drivers and their release date. If you see any update for your keyboard, click on the button Update Now to install it. When finished, restart the computer to apply the changes.
Method #5: Update Windows
One another solution to fix your backspace keyboard key is to update the system. Windows is always releasing new bugs and patches that could fix any problem in your keyboard.
To update your Windows, follow these steps:
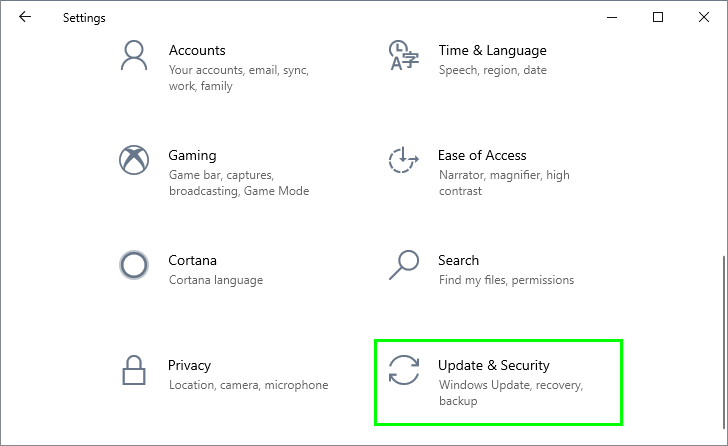
- You have to open the Settings utility with the keys Win + I
- Now, click on the option Update & Security
- There you will see the updates available, and if there aren’t any, you need to click on the button Check for updates
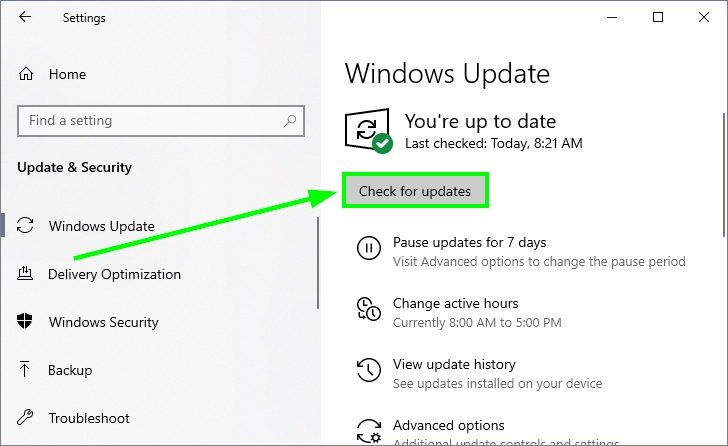
- Once you installed all the updates, restart your computer and test your backspace keyboard key
Method #6: Scan for Viruses
There are some programs called keyloggers that record your keystrokes to steal your passwords. That could be another reason why your backspace is not because the software is creating some conflict.
You will need to perform a full scan on your computer to check if there are some viruses on your computer.
When talking about keyloggers, you will need to use specialized software besides the Windows default antivirus. One of the most recommended is Malwarebytes, an antivirus that you can download for free.
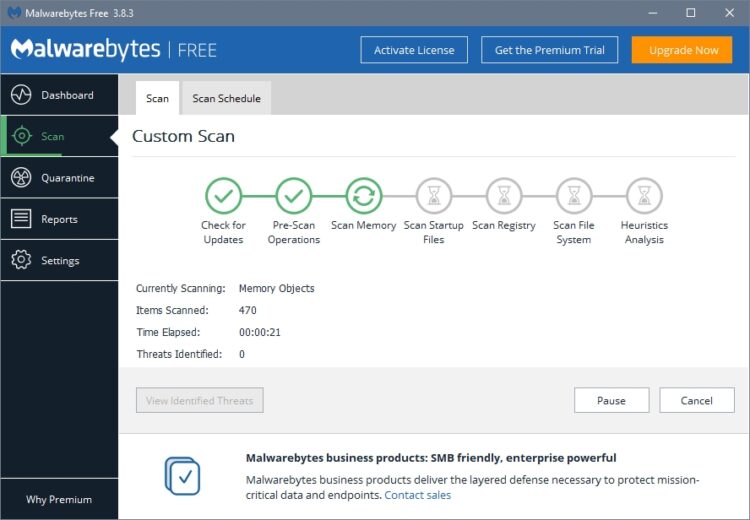
Once you installed the antivirus, go to the SCAN section and there choose the option Thread scan and click on Scan Now.
This process should not take longer than 10 minutes and will neutralize any malware or software that could be recording your keystrokes.
If that option doesn’t work, you can try the custom scan to perform an analysis of your entire system.
Method #7: Disable Fast Startup
On Windows 10, there is a feature that lets you boot your system faster, but sometimes it can be the reason for multiple problems.
Why? Because this fast startup feature will save somethings about your last session to fasten the next method. So when you have some problems or issues in those sessions, those could appear in the next boot.
If the backspace still doesn’t work, you can try to disable Fast startup to fix this issue:
- Open the Run window with the keyboard shortcut Win + R
- In the box, type the command
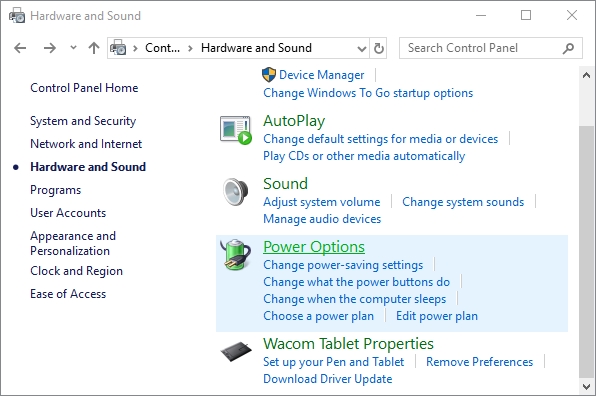
controland click on OK - You will open the Control Panel. There navigate to the section Hardware and Sound and then click on Power Options
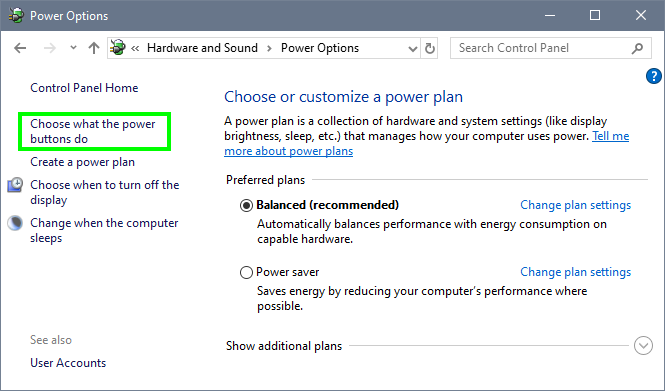
- There, you need to click on the line Choose what power buttons do in the left side menu
- To be able to disable Fast startup you need click on the line Change settings that are currently unavailable
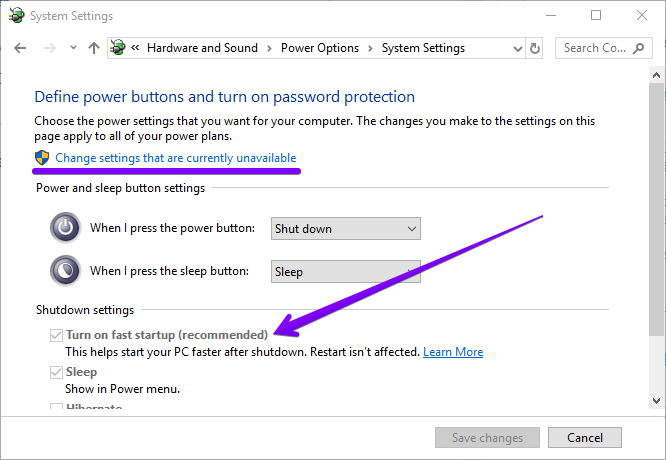
- Finally, scroll down and uncheck the box: Turn on Fast startup
- Click on Save Changes and then restart your computer
- The next time Windows boot it will load all the files and services from scratch, and surely you will be able to use the backspace key without issues
Wrapping Up
I hope this tutorial helps you with your problem, but if you find any problem with it, you can contact me in the comment section below, I will always have available to help you.
Also, here you have other keyboard-related issues that may give a hint: