You can’t work efficiently on your computer because you see the error: VIDEO SCHEDULER INTERNAL ERROR? In this post, I will show you how to fix it.
When using or managing Windows operating systems, one of the biggest fears or problems is to see the famous Blue Screen of Death, which puts your screen in blue with a series of codes and restarts your computer affecting all the activities that you are running at that time.
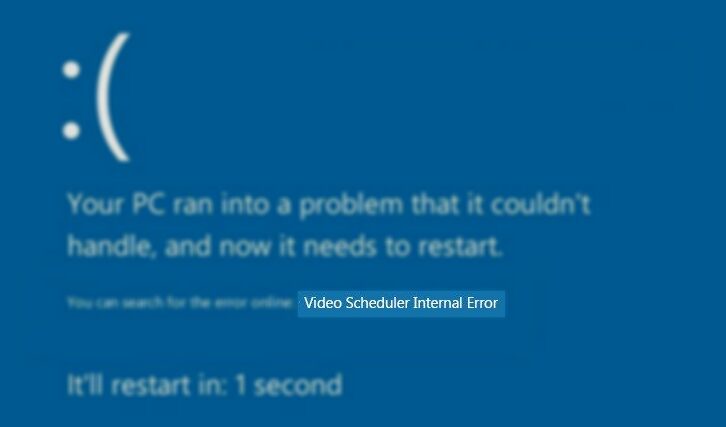
One of these errors is the one in the image above; on this post, I will show several methods to fix it.
Method #1: Update Windows 10
It is always recommended to keep Windows 10 updated due to the constant threats and vulnerabilities that you can find. In addition to this, with each release, the developers are publishing new updates focused on improving security, performance, and compatibility.
To update Windows 10, follow these steps:
- Open the Start Menu and click on the Settings icon
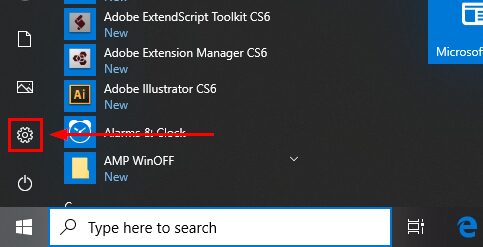
- Once there, click on the section Update & Security
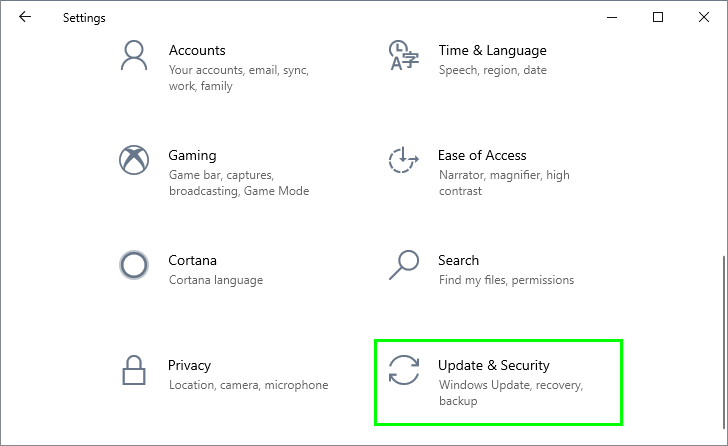
- Now, on the left side list, click on Windows Update
- Finally, on the right, click on the button Check for updates to check if there are any available updates
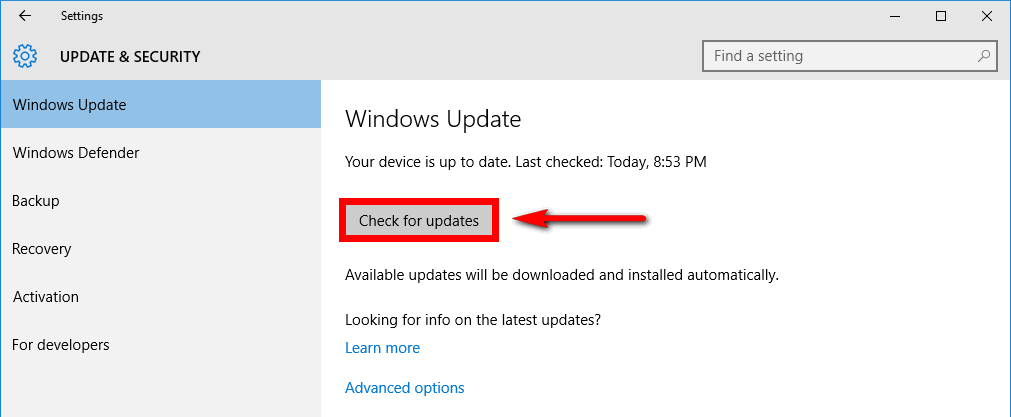
- Update it and restart the computer, with that in many cases you will have solved it.
Method #2: Uninstall Graphics Card Driver
In some specific cases, this error happens because there is a conflict with your graphics card drivers and the system.
At this point, the most practical option is to remove the graphics card drivers and install the previous version of the drivers according to their manufacturer.
Uninstall Graphics Card Drivers
- Open the Start menu and search the word
control - Click on the first result to open the Control Panel

- Once there, navigate to the section Programs and Features
- Now, find your graphics card in the list and click on the button Uninstall

- Finally, depending on your GPU manufacturer, you will need to choose the option to remove all data on the uninstaller.
Display Driver Uninstaller
To remove these drivers accurately, you can use the Display Driver Uninstaller tool, which you can download for free at the following link: Display Driver Uninstaller
Once you remove the graphics drivers, go to the manufacturer’s website to download the respective drivers and thus avoid this error: AMD, NVIDIA, INTEL.
Method #3: Download Latest Graphics Drivers
You already saw the method one that would be to update the drivers directly in Windows Update, because sometimes it finds compatible drivers.
Also, keep in mind that the previous method used the older drivers, but another popular option is to update the respective graphics drivers because the ones you have currently are obsolete, and the new updates may contain the solution to fix the BSOD error.
On Windows 10 you search automatically for your drivers following these steps:
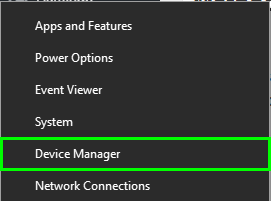
- Rightclick on the Start menu and in the list that opens select Device Manager
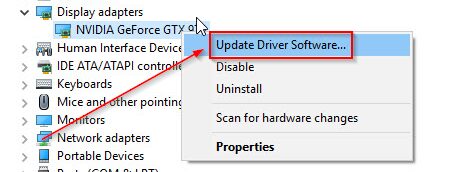
- Once opened, open the section Display Adapters, and there right-click on your graphic card and select the option Update driver
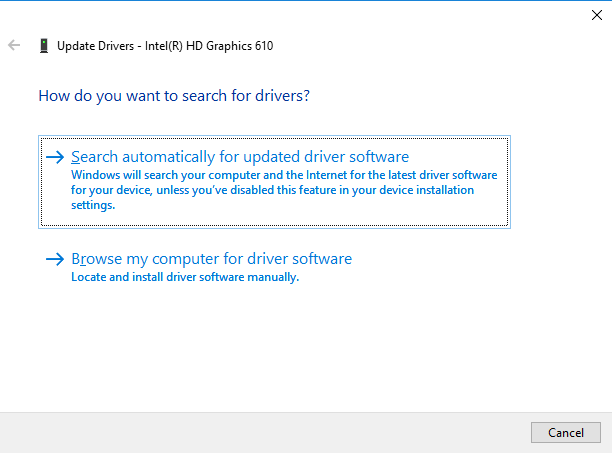
- There you can find the latest updates directly online
- An also search for the most updated driver locally, and for that, you must first download the update from the official site of the developer.
- Once updated, restart your computer, and surely you will have solved the blue screen error.
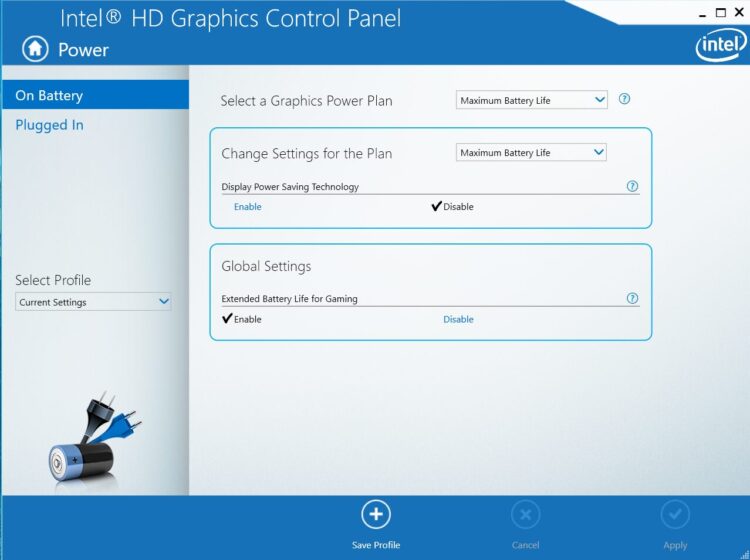
Method #4: Download GPU Control Panel
Graphic card developers have a control panel designed for the correct use of the graphic driver since, in some cases, the error can be generated by an incorrect configuration of this when you set not supported features on the computer such as 3D or 4K.
Download these control panels at the following links for NVIDIA and INTEL.
NIVIDEA:
http://www.nvidia.es/object/nv_control_panel_es.html
INTEL:
https://www.intel.la/content/www/xl/es/support/articles/000005596/graphics-drivers.html
Method #5: Disable Hardware Acceleration
Hardware acceleration is a new technology used by modern web browsers focused on improving the performance of your computer when running some tasks.
The problem is that hardware acceleration doesn’t work correctly with specific graphics cards, so in this case, it is best to disable it.
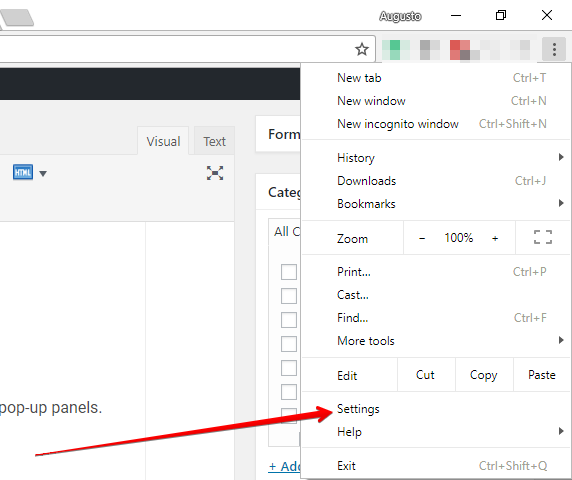
Disable Hardware Acceleration in Chrome
- Open the Google Chrome browser
- Now, click on the button Customize and control Google Chrome (three dots icon) and in the menu select Settings
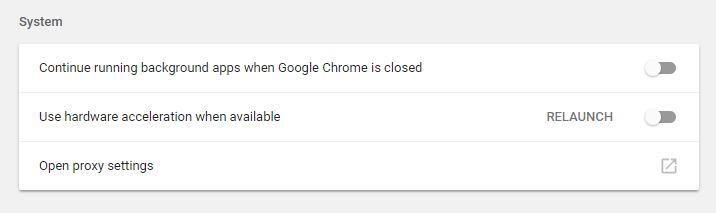
- Scroll down to the bottom and click on the option Advanced
- Then, scroll down more, and disable the switch Use hardware acceleration when available under the section System
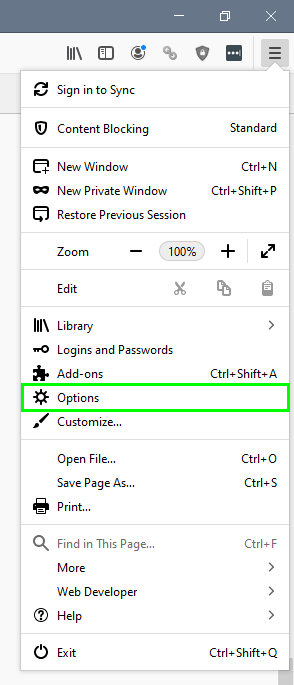
Disable Hardware Acceleration on Firefox
- Open the Mozilla Firefox browser
- Now, click on the Firefox menu and select Options
- Once there, scroll down to the section Performance and uncheck the box Use recommended performance settings
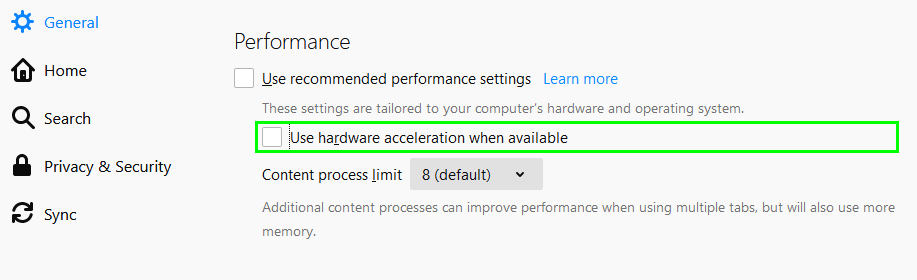
- New options will show up and finally there disable the box Use hardware acceleration when available
Method #6: Reset Windows 10
Windows 10 has a feature that allows you to reset the system while keeping tour files, and this option will be used only in extreme cases where none of the above options work.
To do this, follow these steps:
- Open the Windows Settings using the keyboard shortcut: Win + I
- Now, navigate to the section Update & Security
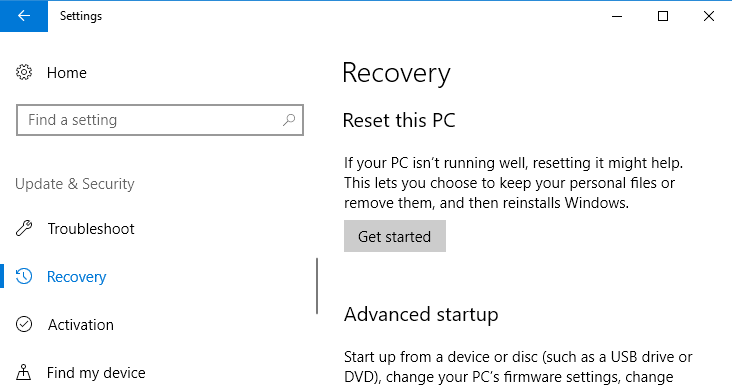
- On the left side, click on the menu Recovery
- Then, on the right side, click on the button Reset this PC under the section Get started
- A new window will open and there choose the option to keep your files
- Finally, follow the wizard until the end to reset Windows 10.
Method #7: Delete Unwanted Files
As time passes, your computer accumulates unwanted files thanks to web browsing and frequent use of the PC in general.
To remove these unwanted files, follow these simple steps:
- Open the File Explorer and there right-click on your
Cdrive, in the menu select Properties - A new window will open, there click on the button Disk Cleanup
- Wait for Windows to search files to delete and then check all the boxed that you want to remove, the temporary files being the most common
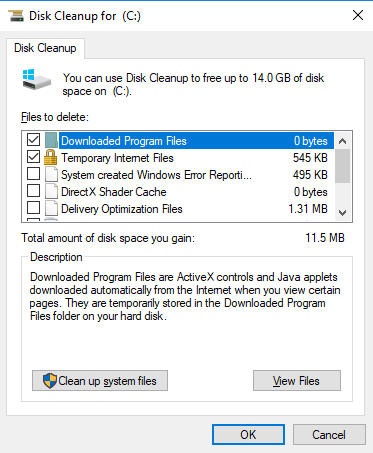
- Now click on OK to start the cleaning process.
Method #8: Run File System Checker
Windows 10 has the SFC utility (System File Checker), which allows you to analyze and restore the damages in the Windows system files and within this range, includes this error.
To run this command, follow these steps:
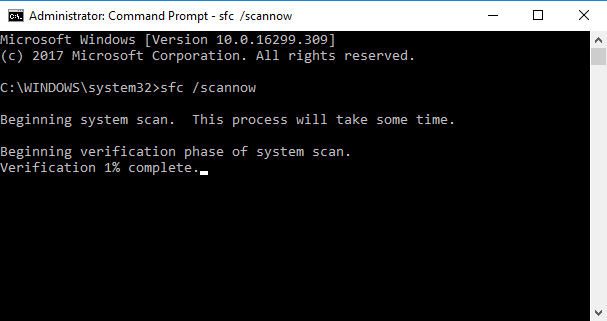
- Click on the Start Menu and search the word
cmd - Rightclick on the first result and in the menu select Run as Administrator
- Once opened the Command Prompt with admin rights, copy and run the following command:
sfc /scannow
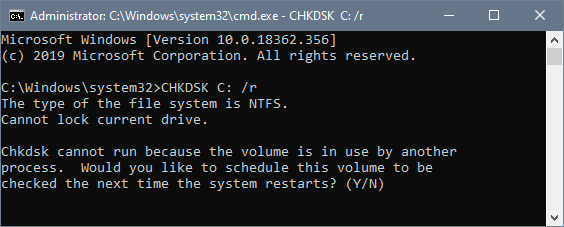
Method #9: Check Disk
You have another that leet you analyze your hard drive to find any corrupted data and errors. Remember that, in some cases, the error is due to problems in the hard drive. You can run this tool following these steps:
- Open the Start Menu and search the word
cmd - Then right-click on the result Command Prompt and in the menu select Run as Administrator
- Once there, copy and run the following command:
chkdsk /f
Wrapping Up
I have shown you multiple options available to give an effective solution to this problem and restore your system performance. I hope you could fix the problem, but remember to be careful while following these steps.
Must read: How to Fix Device Not Migrated on Windows 10
If you have more questions or need more assistance on this error, let me know in the comment section.