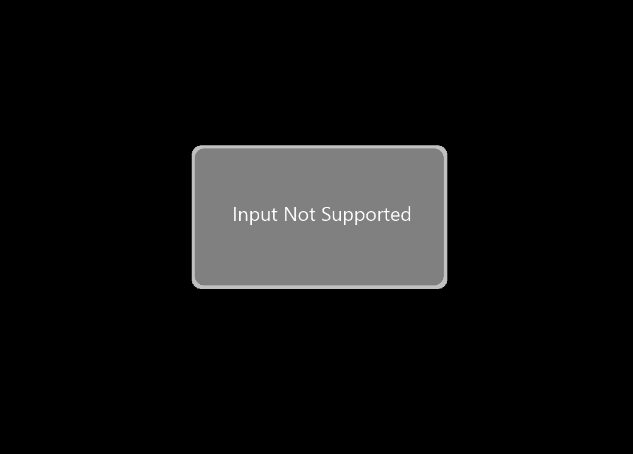
You are trying to connect your monitor to your computer, but there you see the message: Input not supported. Well, this is a common problem among some Acer monitors, but it could affect other brands as well.
This error shows up when Windows doesn’t match with the resolution of your monitor, or there is some conflict between some games and the monitor.
In this post, I will leave some of the best methods that could help you to fix this issue quickly.
Troubleshooting Connection
Before starting to make some changes in the system to fix this issue, you need to verify that your monitor is in good standing and also your connection.
First, make sure that your monitor is connected correctly to the monitor and in the right place. If you have a graphics cards, you need to connect your monitor there because if you plug it in the motherboard video connector, it will show you this message.
Also, try to connect your monitor on another computer to verify that the problem isn’t the monitor and continue with the next methods, once you rule out those things.
Before: Enable Low-Resolution VGA
This would be the first step because you will need to make some changes in the system, but as you only see the message Input not supported, you will not be able to do anything.
There are different ways to enter in low resolution depending on your OS, so follow these steps:
On Windows 7
Windows 7 has the easiest way to enter this mode:
- Turn off your computer and then turn it on
- While booting press, the keys F8 several until you see the following menu
- There move down using the arrow keys and select the option to Enable low-resolution video (640×480)
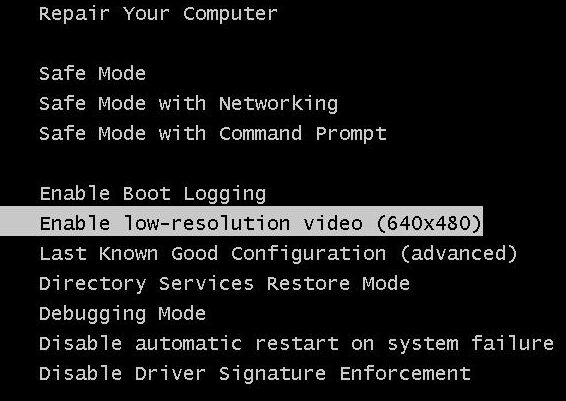
- Press the Enter key to enter this mode and wait for Windows to start; hopefully, you will be able to see the desktop again
On Windows 8 and 10
Since Windows 8, there is a new and lengthy process to enter this low-resolution mode, and you have to follow these steps carefully.
- First, restart your computer and while you see the Windows loading screen, force a shutdown by pressing the power off button or unplug it the computer from the power source
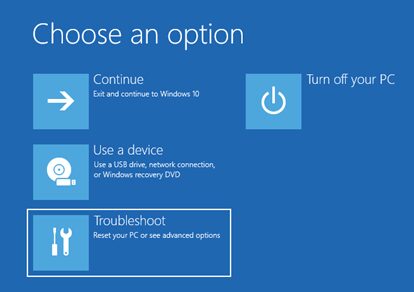
- This will raise some flags on Windows, and the next time you power on the computer it will show you the Windows Recuperation Mode
- There click on the option Troubleshoot
- Now click on Advanced Options
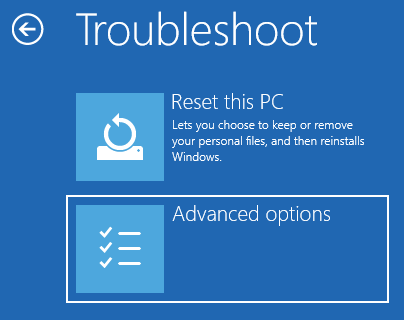
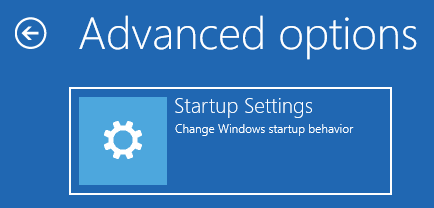
- There click on Startup Settings
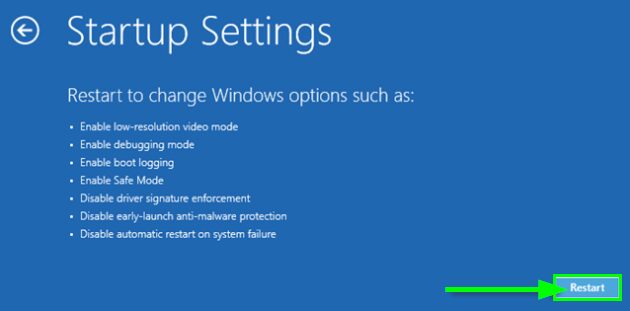
- And now click on the Restart button
- Once the computer restarts Windows will show you some options similar to the other ones in the previous steps, there press the F3 key to enter in low-resolution video mode
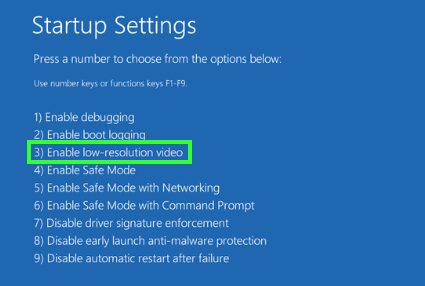
- Now, your desktop will appear successfully, and now you can try to follow the next methods to fix this issue.
Method #1: Lower Resolution
This is the first tip that you can try to fix this issue because this message appears on your monitor when your current resolution isn’t supported in it.
To change your resolution, follow these steps on Windows 10:
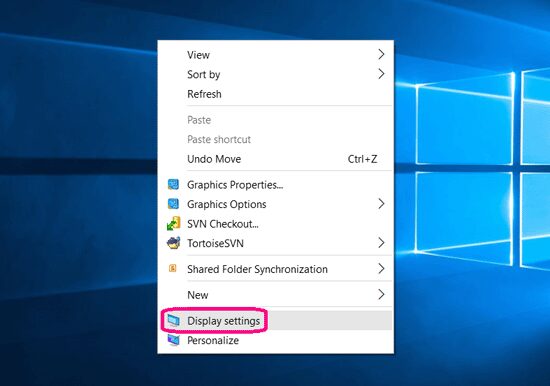
- Go to the desktop and right-click on any empty space, then in the menu click on Display Settings
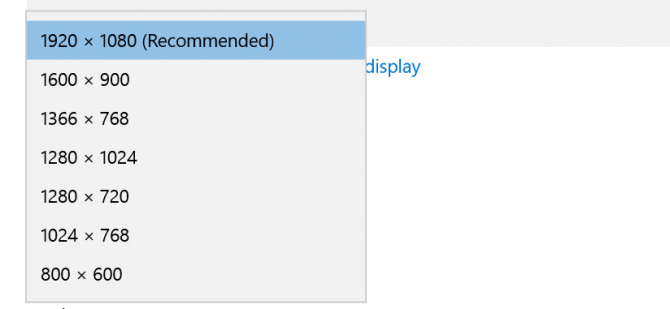
- You will open a new window, there scroll down, and open the dropdown menu Resolution. There you need to choose the recommended resolution or anyone supported by your monitor
- When you a popup message, confirm the action and then try to restart your computer, hopefully, the problem will be fixed
Change resolution on Windows 7:
To change your resolution, you have to follow some similar steps:
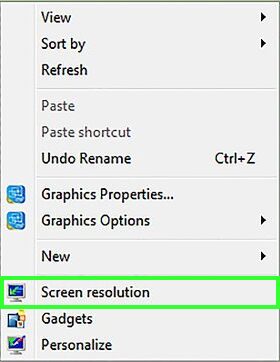
- Go to your desktop and make right-click on any empty space, then in the menu that opens click on Screen resolution
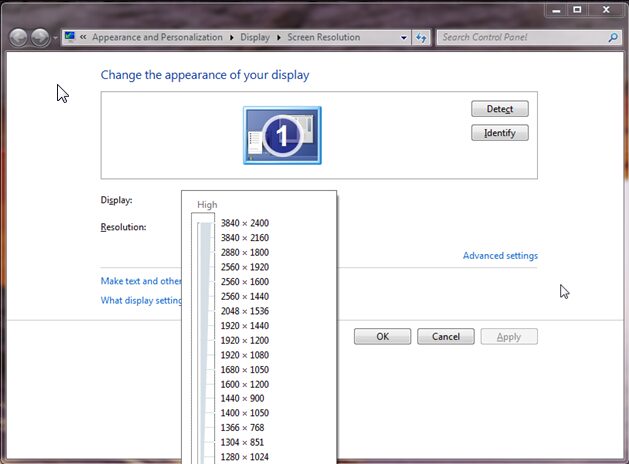
- A new window will open, and there open the dropdown menu Resolution. Now there choose the recommended one or another supported by your monitor and click on the Apply button
- Confirm the changes and restart your computer, the message Input not supported wouldn’t appear anymore
Method #2: Change Screen Refresh Rate
This is another setting that you should change if you still haven’t been able to fix your monitor issue.
Note: If you can’t see the desktop again after following the first method, you need to enter the lower resolution video mode again.
On Windows 10:
- Right-click on any empty space in the desktop and select Display Settings
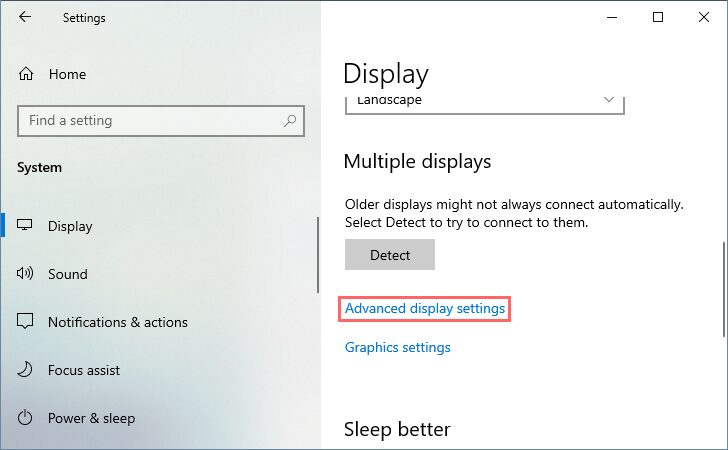
- On this window, scroll down and click on the line Advanced display settings under the section Multiple displays
- Now, click on the line Display adapter properties for display #

- Once there, navigate to the Monitor tab and there choose the default screen refresh rate on the dropdown, make sure that your monitor support that rate.
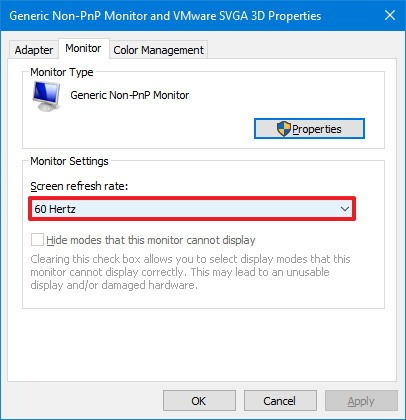
- Click on Apply and OK to save the changes
- Restart, your computer, and your monitor will be working without issues
On Windows 7
- Rightclick on any empty space on your desktop and in the menu select Screen resolution
- In the window that opens click on the line Advanced settings

- Navigate to the Monitor tab and there select the recommended screen refresh rate on the dropdown menu, also make sure that your monitor support that rate
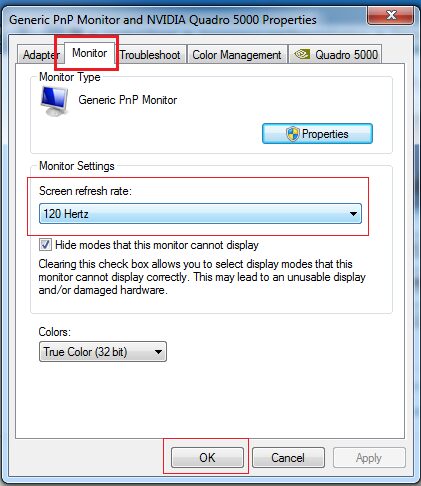
- Click on Apply and OK to save the changes and restart your computer
- When Windows starts, you will be able to see the desktop and the problem will be fixed
Method #3: Update Drivers
If you haven’t been able to fix this monitor issue already, you may need to update your monitor drivers and also the GPU drivers.
Maybe some old drivers could be the reason why you see this message: Input not supported; therefore, you will need to update those drivers to fix the issue.
To update your monitor drivers, you can visit your manufacturer website and download it from there. For your graphics cards, you can do the same thing, Nvidia, Intel and AMD offers new updates periodically on their websites.
If you want to update these two drivers at the same time, you can use a driver updater like Driver Booster. To do that, follow these steps:
- Download Driver Booster and install it
- When the installation finishes, click on the button SCAN
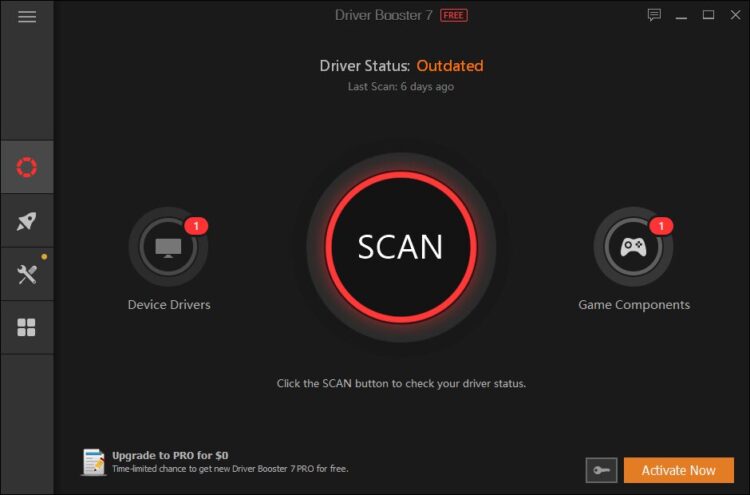
- Driver Booster will start scanning your monitor and tour GPU, and then it will search the latest drivers for them
- Now, you will see a summary of the available drivers for the monitor and also the GPU
- To install the two at once, you only need to click on the Update Now button located at the top
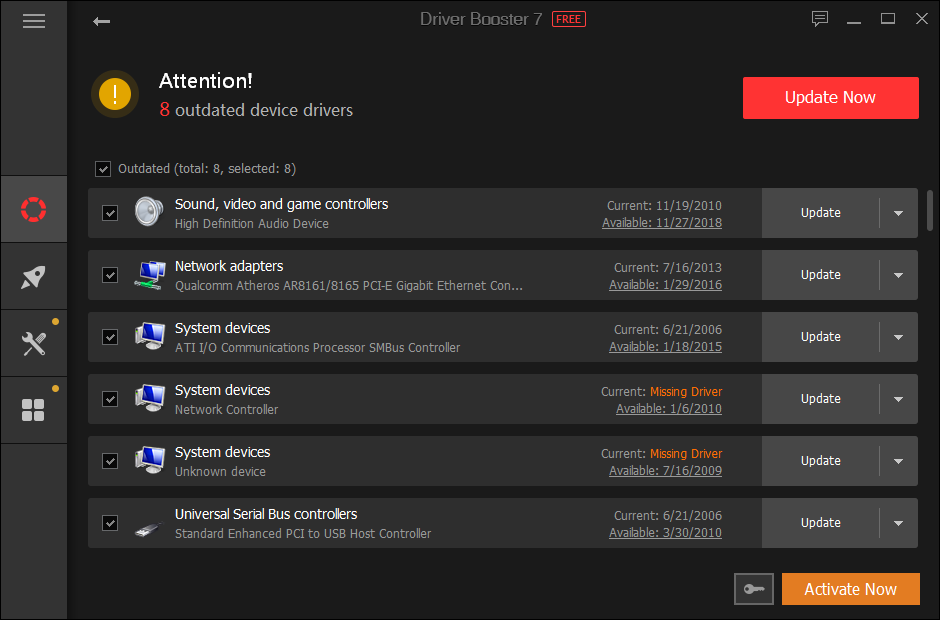
- Wait for the process to end and then restart your computer
- When Windows start, you will see how the error will be fixed, and the problem will be repaired successfully.
Method #4: Run your game in Windowed Mode
If this error appears to you when you want to play some video games, you can try to use the windowed mode to fix this issue.
Depending on your videogame, you can set the windowed mode using the shortcut or changing some file settings.
If your game is from Steam, here you have a guide about how to open Steam games on windowed mode.

So far, those were the best tips to fix this monitor issue on Windows. If you haven’t been able to fix the problem, you may need to contact the tech support of your monitor manufacturer.
Also, if you found some problems with these methods, let me know in the comments section below.
Thanks for reading, here I will leave some other problems that could help you: