PC video games have been massive demanded in recent times and also the GPUs from NVIDIA. These graphics cards have increased their price considerably due to their high demand, but still, many users have decided to acquire one of these graphics cards to enjoy their video games. Although NVIDIA graphics cards are top-rated and expensive, this doesn’t mean they are free of errors. In fact, one of those errors is the one that appears on Geforce Experience: Unable to Connect to Nvidia.
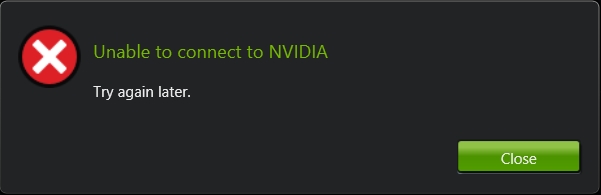
In general, NVIDIA graphics cards or video cards don’t usually cause problems on Windows computers since once the specific driver is installed, everything should work correctly. However, sometimes, when using them, you may receive an error message that says: Unable to Connect to Nvidia.
This error occurs the most when you open the official NVIDIA GeForce Experience app.
This software is part of the NVIDIA graphics controller and allows you to make a customized configuration to adjust the graphics card to a specific video game. This tool can also be used to update the graphic drivers of your NVIDIA graphics card.
Sometimes this error also shows a message indicating that you check your internet connection because this may be the cause of the failure. Obviously, 99% of the time, the error is not due to lack of internet; however, you must check your connection before proceeding with the methods that I will leave you below.
Method #1: Check NVIDIA Services
When you install the official NVIDIA GeForce Experience program, several services are added automatically, so the software will be to modify the graphics cards settings successfully.
This service is responsible for helping NVIDIA GeForce Experience connect to the Internet. If, for any reason, this service stops, it will cause the error to be displayed. Therefore, what you should check is whether this service is running or not.
To do this, follow these easy steps:
- Open the Run window using the keyboard shortcut Win + R
- In the window that opens, type the command
services.mscand press Enter - You will be opening the Services window and there, scroll down until you find the service NVIDIA NetworkService Container
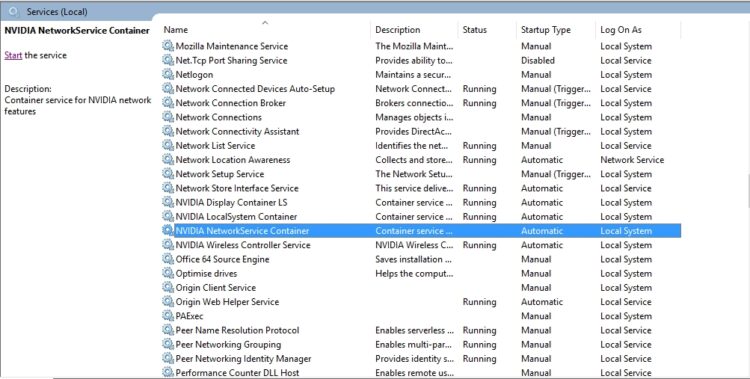
- Double click on this service to open its Properties window
- There open the dropdown menu Startup type and choose the option Automatic
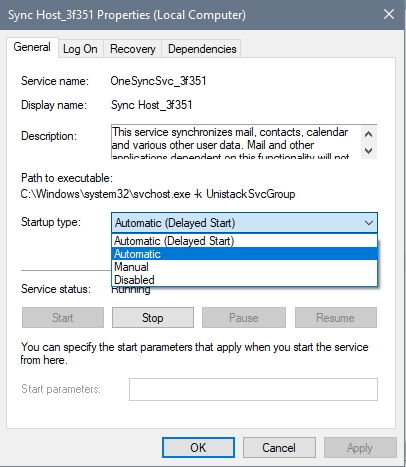
- Also, click on button Start if the services aren’t running
- Click on Apply to save the changes and close all the Windows
- Now, try to open Geforce Experience, and it will start without problems
Method #2: Reinstall NVIDIA Drivers
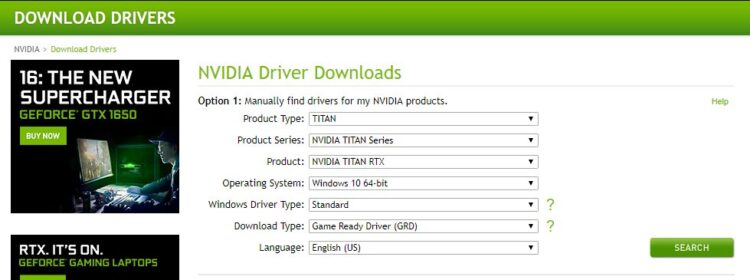
With the previous method, you should completely solve the error; however, this may not be the case. In this case, other solutions available will be reinstalling the NVIDIA graphics card drivers.
To do this, you can visit the following NVIDIA drivers page and there fill all the information about graphics cards, once download open the file and run the installer.
Restart your computer, and after this process, open Geforce Experience and connection to Nvidia error will be fixed successfully.
Method #3: Remove NSManagedTasks.xml
This is another workaround that has been reported to fix this Nvidia issue successfully. So you can try this following these steps:
- Open the File Explorer using the keyboard shortcut Win + E
- Once there, navigate to the following path: C:\ProgramData\Nvidia Corporation\NetService\
- Now, make sure that have enabled the option to view hidden items

- Find and select the file
NSManagedTasks.xml - Press the keys Shift + Del to remove this file permanently

- Now you need to open the Task Manager using the keyboard shortcut Ctrl + Shift + Esc
- There, click on the button More details
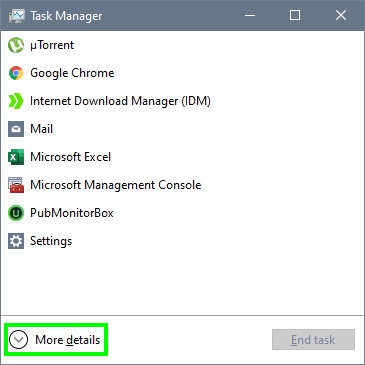
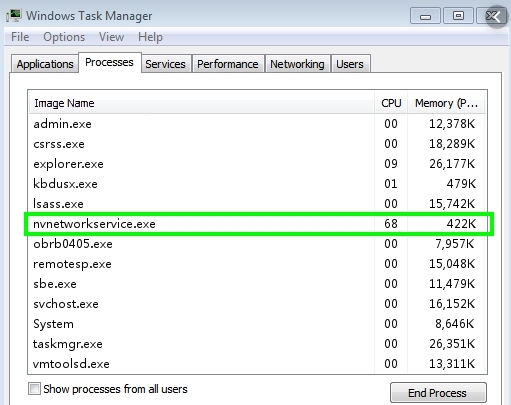
- You will see various lines, select the process
NVNetworkService.exeand click on the button End Task
- Now go back to Services window and restart the NVIDIA NetworkService Container service
- Finally, you can try to open Geforce Experience; hopefully, the error unable to connect will be gone
Method #4: Remove Localhost from Hosts
If you previously installed some web server or program that needs this feature, the localhost setup will be enabled for all your apps.
That could be the reason by Geforce Experience cant connect to NVIDIA, so you need to remove this line from the HOSTS file following these steps:
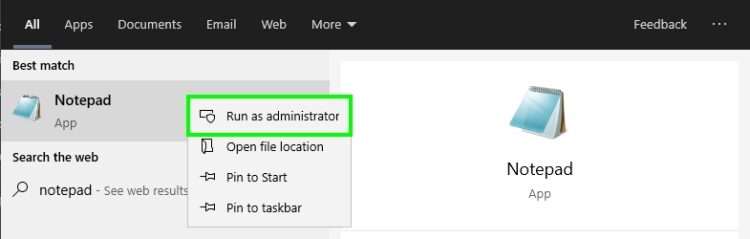
- Open the Start Menu and search the word Notepad
- Rightclick on the Notepad and select Run as Administrator
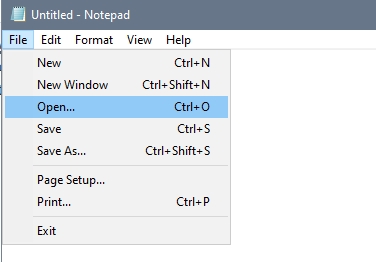
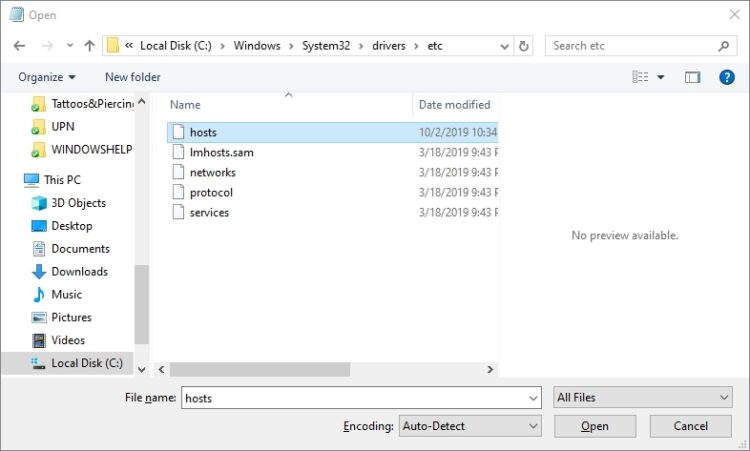
- Now, click on menu File and then click on Open
- You will need to navigate to the following path: C:\Windows\System32\drivers\etc
- There, select the files
hostsand click on the Open button
- You will see several lines, and there you need to find something like localhost
127.0.0.1or localhost0.0.0.0 - Once you find those, remove them and save the file using the keyboard shortcut Ctrl + S
- Restart your computer and now try to open Geforce Experience; hopefully, it will connect to Nvidia without problems
Method #5: Reinstall Geforce Experience
This will be your last option to fix this NVIDIA issue. Maybe there is something wrong with your Geforce Experience installation; therefore, you will need to uninstall it, then download the latest version and reinstalled it on your computer.
You can do that following these steps:
- Open the Settings utility using the keyboard shortcut Win + I
- There, click on the section Apps
- Now, on the right, you will see all your installed, scroll down and select Geforce Experience
- Then, click on the button Uninstall

- Follow the wizard instructions to uninstall the program completely
- Restart your computer
- Click here to download Geforce Experience
- Save the file to your PC and run it
- Follow the installation wizard as usual and then open the program
- Surely, after all these methods, your NVIDIA connection problem will be fixed
Those were the methods and tips that users have reported to works when you want to fix your NVIDIA issue. Remember to be careful while you follow these steps, and if you haven’t been able to fix it already, you can try to Reset Windows 10.
If you have any questions, leave it in the comment section below. Here you have another NVIDIA related issues that could help you: