You have one of the gaming SADES headphones, and you want to install the drivers. Well, you are in the right place, on the following lines, I will show how to install the sades headset drivers from the easiest to the hardest way possible.
The first thing before starting is connecting your SADES headset to the computer and let Windows try to install the driver automatically. After it fails, you can continue with the following methods.
Method #1: Update Windows 10
Your first step would update your Windows 10 computer because this utility has some of the SADES drivers in their repository, and these drivers would be fully compatible with your computer.
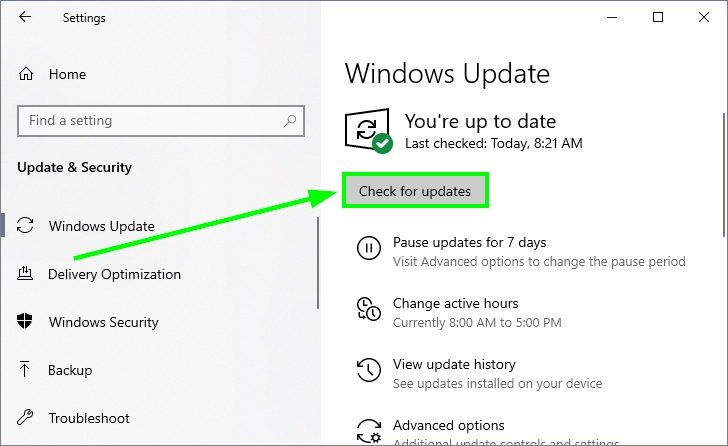
To update Windows 10, open the Windows Settings from the Start menu and navigate to the section Update & Security. In this window, you only need to click on the option Check for updates, and then Windows will search updates available. You need to check the optional drivers because there is where your SADES drivers will be located to install them.
Method #2: Download SADES Manually
This is the most recommended way to install your SADES headset drivers, but it involves some technical skills and knowledge about how to properly install drivers on a computer.
But if you follow these steps carefully, you will be able to install your SADES drivers without problems.
- Click to visit the SADES Download Drivers webpage.
- There you will see some sections, click on the one that says HEADSET
- Once done, you can search there you headset model and click on the button DOWNLOAD DRIVER

- The website will redirect you to Mediafire, and there you can click on the Download button again to save the file on your computer
- Once download, you will have a ZIP file that you will need to open with some program like WinRAR, but Windows 10 also has a builtin utility to open these files. If you don’t know how to do this, check this guide.
- Extract the folder download to your desktop and open it.
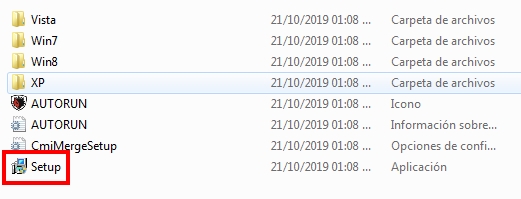
- There you will find some files, double click on the file Setup
- Now you only need to follow the wizard clicking on Next to finally install your SADES headset drivers
- Finally, you can test your headset to verify if the sound and microphone are working correctly
Method #3: Instal SADES Drivers Automatically (Easiest)
This is the easy method to install your SADES headset drivers on any Windows version that you can try. It involves installing another third-party software, but it will help you to perform this process periodically, and you wouldn’t need to worry about updating your drivers anymore.
if you want to try this follow these simple steps:
- The software will be using is Driver Booster, and you can download it from here.
- Save the file on your computer and double click on it. Follow the wizard until you finally install the software. Make sure that uncheck the option “Yes, I want this software.” to avoid uninstalling System Care
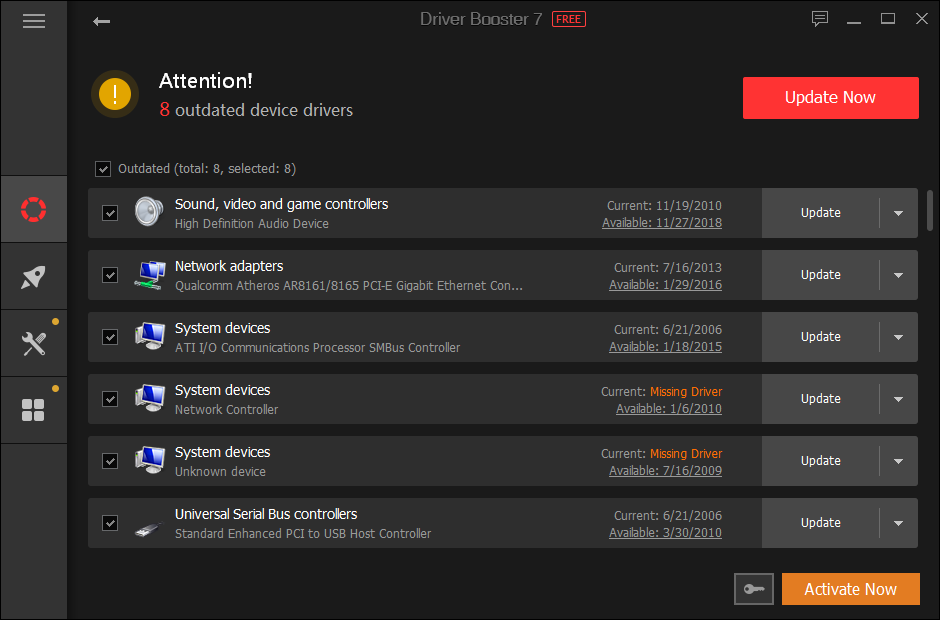
- When the installation process finishes, you will see a big button that says SCAN, click on it
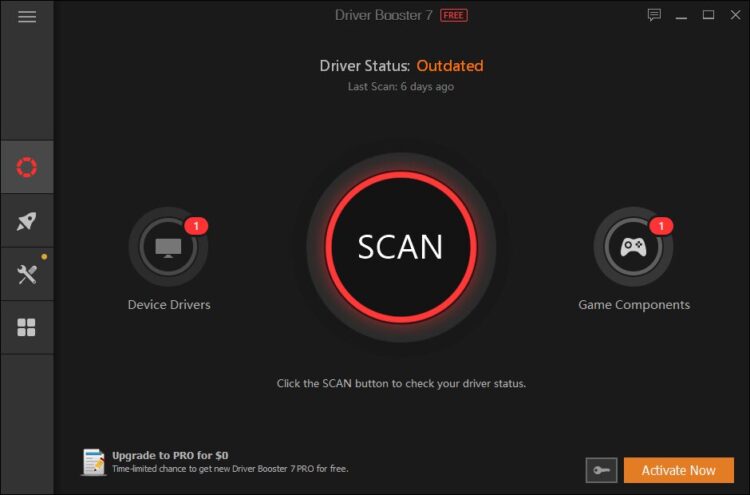
- Driver Booster will start scanning your devices, and it will detect your SADES headset. After some seconds it will show you the latest drivers available for your headset
- To install those drivers, you only need to click on the button Update Now, and that’s is. The software will download and install the drivers automatically, and you will only need to wait
- When finished, restart your computer to apply the changes and verify that your headset is working correctly.
Wrapping Up
Those were the best methods to install your SADES headset drivers on Windows 10, but that also works on older versions. If you have any questions or find any problem following these methods, you can contact me using the comment section below. Thanks for reading.