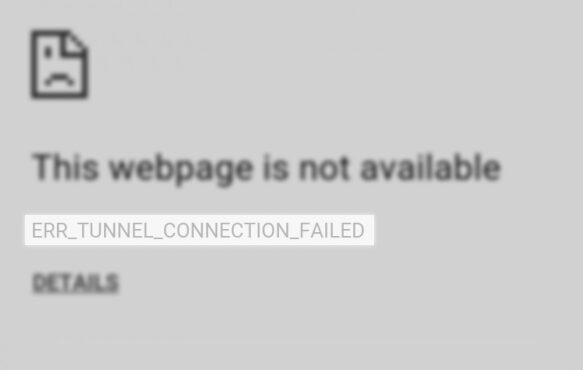
For some time now, many users have complained about an error when they to open some webpages: ERR_TUNNEL_CONNECTION_FAILED.
This error comes out randomly and only happens with the Google Chrome browser. In this post, I want to talk about why this error appears while you are browsing, and some of the best tips, solutions, and methods to fix this issue.
ERR_TUNNEL_CONNECTION_FAILED can appear for various reasons, ranging from incorrect configuration of the web page domain you are trying to visit, conflicting browser data cached, problems with the DNS service that you are using, and even a proxy on your computer that doesn’t work appropriately.
Now, I’m going to leave some of the best solutions that could help you troubleshoot this issue and fix it successfully.
Method #1: Disable Proxy
One of the first things that you should and that the reason why this error appears in Google Chrome can be some proxy enabled in the system.
Proxies are useful servers that let you enter blocked sites or improve your privacy, allowing you to browse anonymously.
Although, in most cases, these servers work without problems, you can try to disable the proxy on your computer to fix this issue.
On Windows 10, you can do that from two different settings that I will show you here:
Disable Proxy from LAN Settings
- Press the keys Win + R to open the Run window and there type the command
control, then press Enter - Once in the Control Panel, go to the section Network and Internet and there click on Internet Properties
- In the Internet Properties window, navigate to the Connections tab and click on the button LAN Settings

- Finally there, check the box Detect settings automatically and uncheck the box Use a proxy server for your LAN
- Click on OK to save the changes and test your browser
Disable Proxy from Settings
On Windows 10 there is another location where you can change your proxy settings, and you can disable it following these steps:
- Open the Settings utility pressing the keys Win+ I
- Click on the section Network & Internet
- In the lift you have on the left, click on Proxy
- Finally, on the right, disable the switch Use a proxy server

- Close the Settings utility and launch Google Chrome. Hopefully, this time, you wouldn’t see the error mentioned above.
Method #2: Empty DNS Cache
To avoid possible errors with the DNS that you have in cache, it is advisable to empty this cache. To complete this operation in Windows 10 or any Windows, you can follow these easy steps.
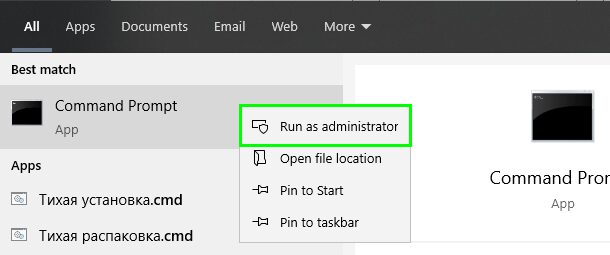
- Open the Start Menu using the Win key and search the word cmd
- Rightclick on the results Command Prompt and in the menu select Run as administrator
- Once you have opened the Command Prompt with admin rights, copy the following command:
ipconfig /flushdns

- Press Enter to run it, and you will see a success message
- Close the Command Prompt and launch Google Chrome. This time when you visit the webpage, you wouldn’t see any error or issue.
Method #3: Clear Browsing Data
One of the possible causes for this error when using Chrome is that the browser has a corrupt cache data. By deleting the browsing data, you ensure that Google Chrome does not have any corrupted data. You can do this following these steps:
- Launch Google Chrome
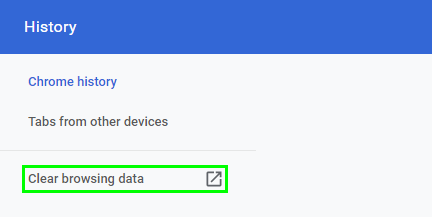
- Once there, press the keys Ctrl + H to open the History
- There, on the left, click on Clear browsing data
- A window will pop, there navigate to the Advanced tab
- On-time range, select All time
- Check all the boxes and finally click on the Clear data button
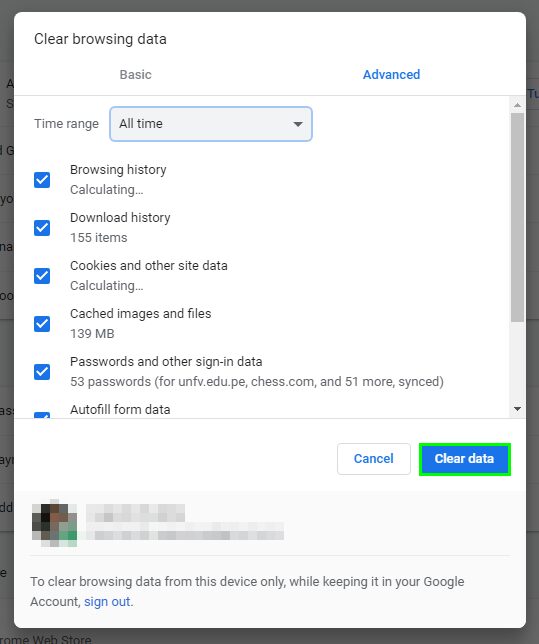
- Chrome will start removing all your browsing. Recall that this process will remove all your visited pages and also some passwords
- Once done, try to revisit the same webpage to verify if the issue has been fixed
Method #4: Disable Extensions
Another unlikely option but that you can try is to disable all the extensions that you have installed, and also, if you have some search bar, I recommend that you remove it. To disable your extensions, you can follow these steps:
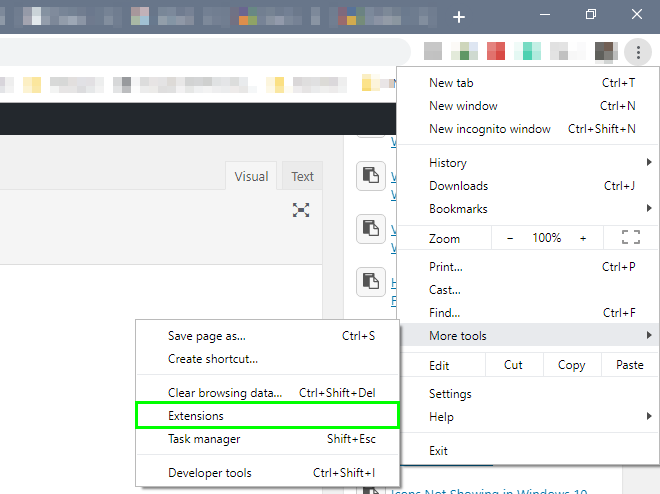
- Launch Google and open the menu, there click on More tools and then Extensions
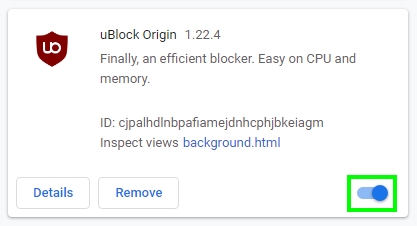
- Once in the Extensions page, you can disable them by clicking on the switch
- When you disable all the extensions, restart Google Chrome
- Now, try to visit the webpage that gives you problems
Method #5: Reset Google Chrome
One of the last options would be to restore factory settings. This can solve if we have any problem at any point in the custom configuration that you may have done in our browser.
To reset Google Chrome to their default settings, you can follow these steps:
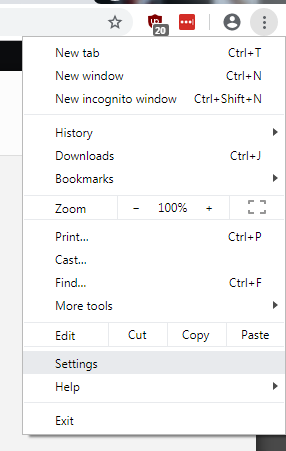
- Open Google Chrome and open the menu, there click on Settings
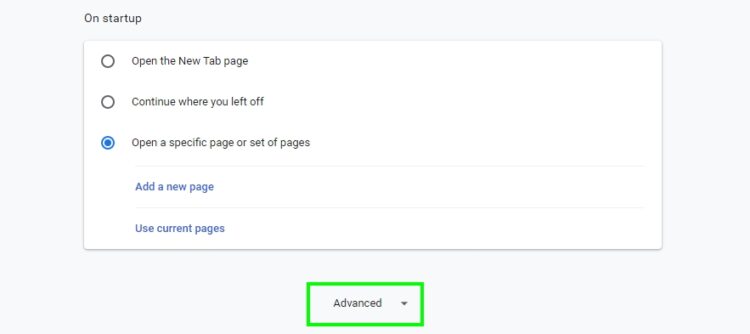
- Scroll down to the bottom and click on the Advanced line
- Scroll down more and now click on the button Restore settings to their original defaults under the section Reset and clean
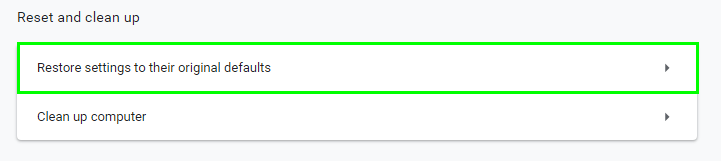
- A new window will pop up, and there click on Reset Settings to confirm the action
- Once finished, you can try to visit the webpage that shows you the error, and hopefully, it will be working again without problems.
If all the above mentioned doesn’t work, you will only have the option to uninstall the browser completely from Control Panel or look for any other browser that works properly and allows you to surf the Internet.
If you have any questions or find some problem while you follow these steps, you can leave a message in the comments section below.
Here you have another Chrome related issues that could help you: