You can’t listen to your favorite music because you see the message “Audio services not responding” on Windows 10? Well, don’t worry, below I will leave some of the methods that will help you to fix this error.
Method #1: Restart Audio Service
I will start this article with an obvious method. If you have problems with the Audio Service, you always can try to restart it to fix it.
You can do that from the Services, and there you need to check if the audio services are running in Automatic and also restart them following these simple steps:
- Press the following Win + R to open the Run window
- In the window that opens, copy the command
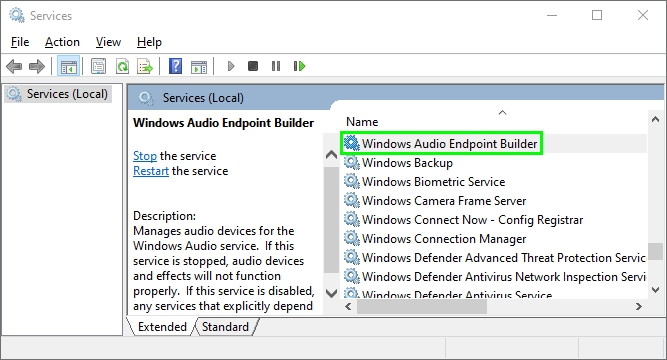
services.mscand press Enter - Once in the Services window, scroll down until you find the Windows Audio and double-click on it
- On the service properties, choose the option Automatic on the Startup type dropdown menu

- Now, click on the button Stop and then click on Start
- Finally, click on Apply to save the changes
- You have to follow the same steps for the Windows Audio Endpoint Builder service
- Once done, restart your computer, and hopefully, you will see no more the audio error.
Method #2: Start Audio Components
If, after restarting the audio services, you will not be able to fix the error, you need to check some of the other Audio Components. These are essential for the Audio Service, and you can check if these audio components are running following these steps:
- Open the Run window using the keyboard shortcut Win + R
- In the white box, enter the command
services.mscand press Enter - Once in the Services, you need to find the RPC EndPoint Mapper service and right-click on it, then click on the option Restart
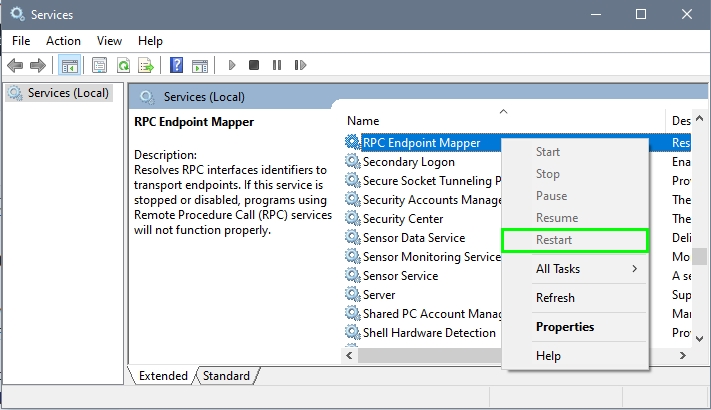
- Now, you have to follow the same steps for the services Remote Procedure Call (RPC) and DCOM Server Process Launcher
- Once done, restart your computer to apply the changes
Method #3: Reinstall High Definition Audio Device
Intel created an audio standard to be used on their chips, and right now is present in almost all the computers that exist in the world.
When you have problems related to the Audio Service, you can try to reinstall this device to fix the problem. Follow these simple steps:
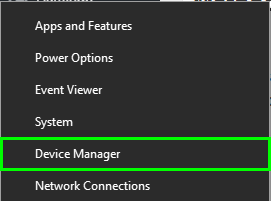
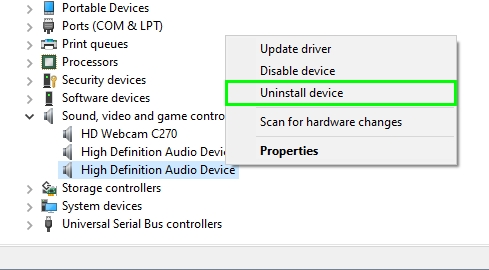
- Rightclick on the Start Menu or use the keyboard shortcut Win + X and in the menu that opens click on Device Manager
- Once there, open the section Sound, video and game controller
- Rightclick on High Definition Audio Device and in the list click on Uninstall device
- Now, restart your computer and when Windows boots it will reinstall this device and hopefully the audio error will be fixed
Method #4: Registry Editor
This method is for more advanced users, and if you know what you are doing, you can try to fix the audio service using the Registry Editor but make sure to create a backup before
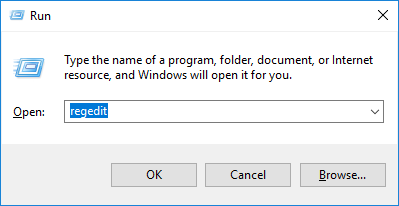
- Open the Run window using the keyboard shortcut Win + R
- In the window, copy the command
regeditand press Enter
- Once in the Registry Editor, navigate to the following path:
HKEY_LOCAL_MACHINE\SYSTEM\CurrentControlSet\Services\AudioEndPointBuilder\Parameters
- Now, on the right-click, double click on the value ServicDLL
- There, make sure that value is this
%SystemRoot%\System32\AudioEndPointBuilder.dll
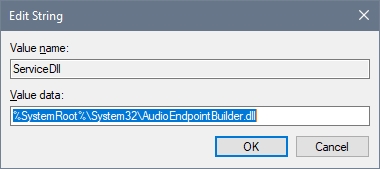
- If not, change it and click on OK
- Restart your computer
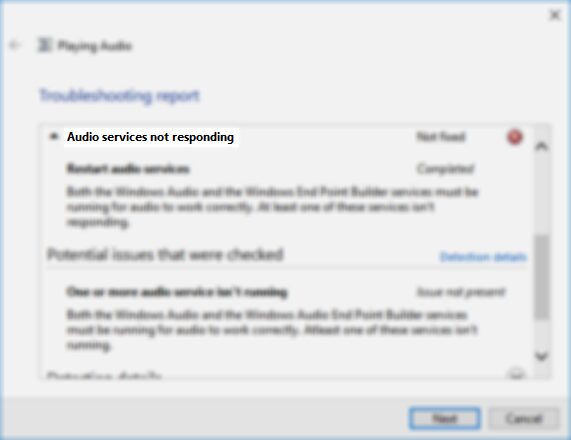
Method #5: Run Playing Audio Troubleshooter
On Windows 10, you have several useful troubleshooters that help you solve problems with your keyboard, printer, and also Audio. You can try to use the Playing Audio troubleshooter following these steps:
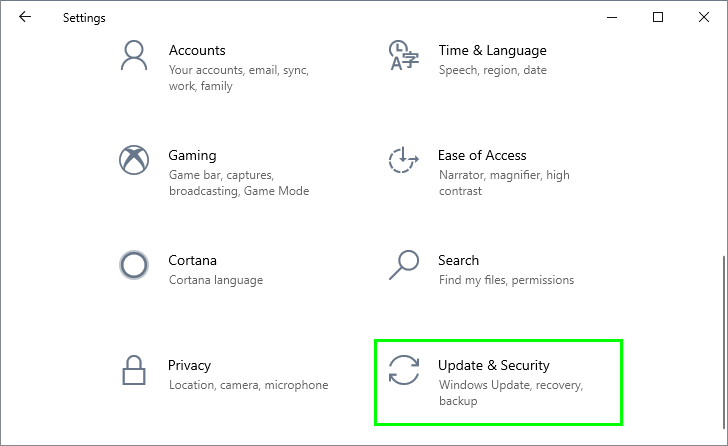
- Open the Settings pressing the keys Win + I
- Once there, click on the section Update & Security
- On the left, click on Troubleshoot
- Now, on the right, click on the Playing Audio and then click on the button Run the troubleshooter
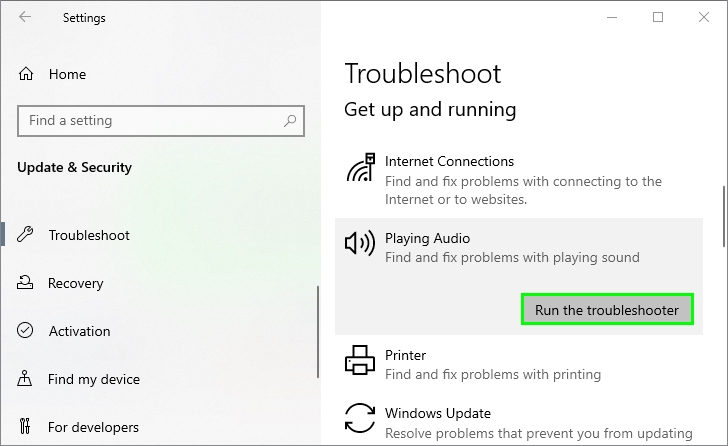
- The troubleshooter will start scanning your system for problems with the audio and hopefully will fix it
Method #6: Update Drivers
Your audio device also has drivers that let you play your music and sounds. You can try to update these drivers to fix the problem.
To install the latest available drivers, I recommend you to download Driver Booster.
- Once downloaded, open the file to install the program
- Open Drivers Booster and click on the button SCAN
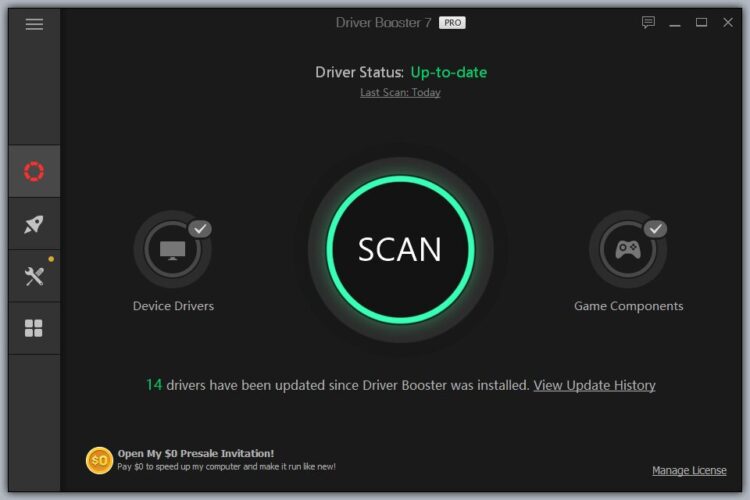
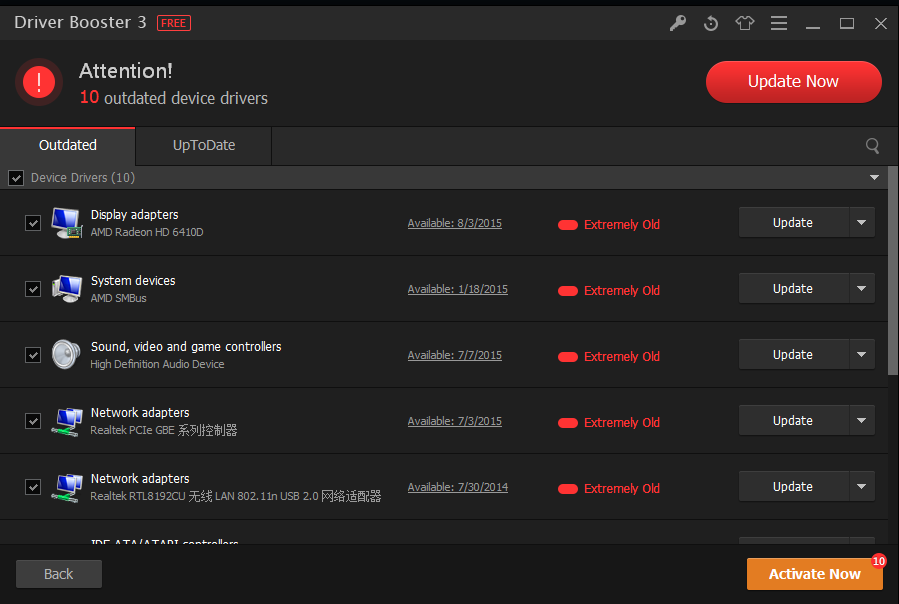
- Driver Booster will start searching updates for your audio device and when it finishes, click on the button Update Now
- Restart your computer to apply the changes
Method #7: System Restore
If any of the methods above help you to fix the audio service, the last resource that you have is the system restore utility. You can try to restore your computer to an earlier date when all works great following these steps:
- Open the File Explorer
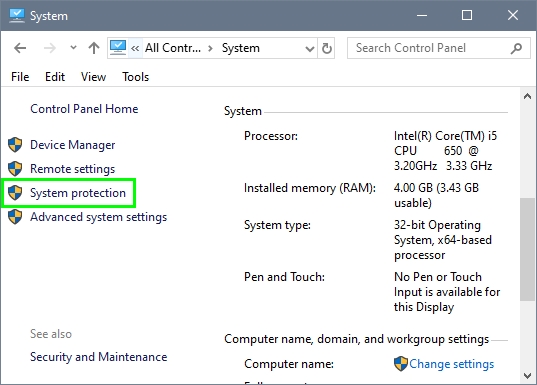
- Rightclick on This PC and in the menu click on Properties
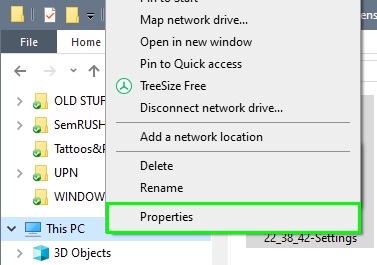
- On the window that opens, on the left, click on the line System protection
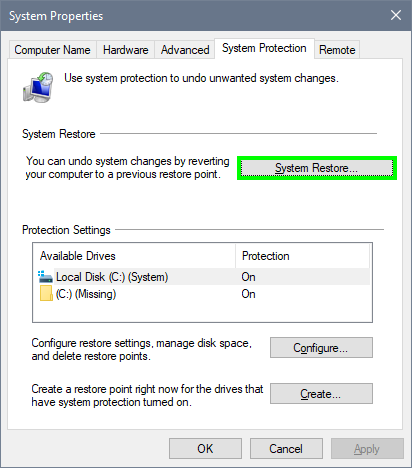
- Now, click on the button System Restore
- Click on Next and then select a date where your computer work without problem
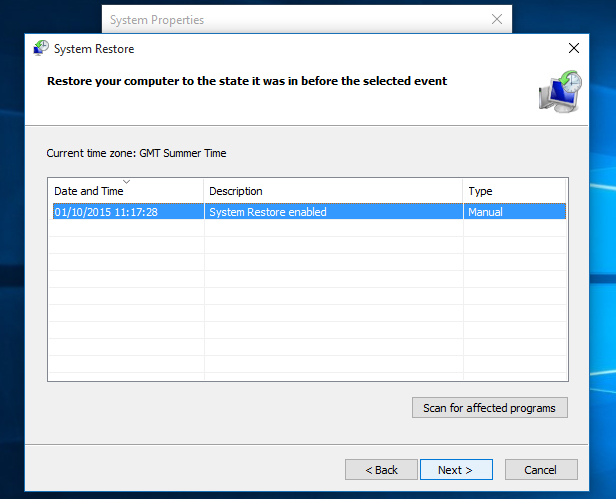
- Again click on the Next button and follow the wizard until the end to restore your computer
Wrapping Up
You have seen the best methods that will help you to fix this error on Windows 10, remember to be careful while you change values on the Registry Editor and always restart your computer to apply the changes.
If you have more question, let me know in the comments section below, I will answer the soonest I can.
Related articles: