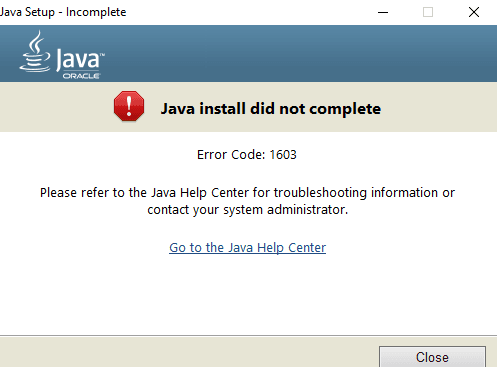
In this article, you will learn how to fix the error 1603 when updating Java on Windows 10.
In the world of the operating systems, we have several add-ons, tools, and utilities that are necessary for optimization, management, and development of the system and also the applications installed in it.
One of those useful tools is Java, which is a programming language developed by Oracle that you could find in several applications, websites.
Java is fast, secure, reliable, and that’s why you can find it on several devices like mobiles and even desktops.
Being an essential application for several users is something that is always updated to improve features or patch bugs. This update process is easy and should not be a problem but sometimes throws you a 1603 error that you don’t understand.
In today’s post, you will learn how to troubleshoot this error and fix it on Windows 10.
Check What Java Version Would Be Installed
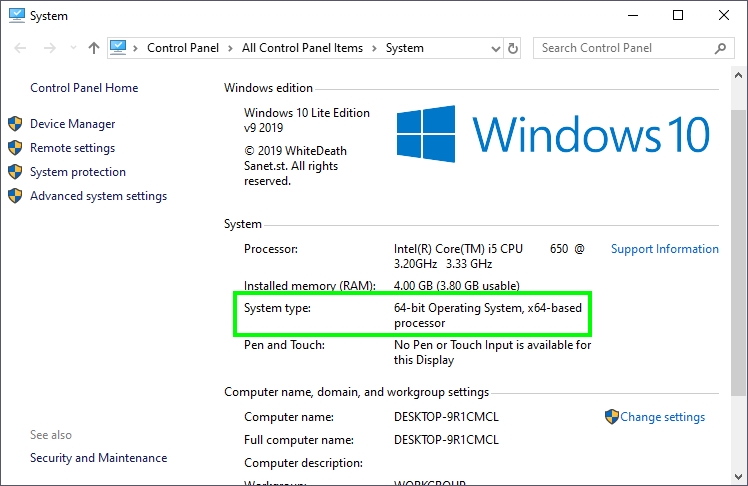
A probable reason why Java doesn’t want to install or update is that we are trying to install a Java version using the wrong architecture. If you have downloaded the64-bit version, you cant install it in a 32-bit computer because it will show you this 1603 error.
If you are not sure what is your Windows architecture, you can follow these steps:
- Open the Control Panel
- Navigate to System and Security, then to System
- Look for the line System type to find your system architecture, in this case, says, 64-bit
Install Java as Administrator
You can try to run the java installer using administrator rights to perform a proper installation.
- To do this, download the latest Java version from the official website.
- Rightclick on the download file and in the menu select the option: Run as administrator.
Uninstall Previous Java Versions
Another method that you can try to fix this 1603 java error is to uninstall the previous versions to avoid architecture conflicts between 32 and 64 bits. In that way, you would know that it is installing the right version.
- Open the Control Panel
- Under the section Programs, click on the option Uninstall a program
- Scroll down in the applications list to find Java
- Click on the Uninstall button and follow the wizard instructions to complete the uninstallation
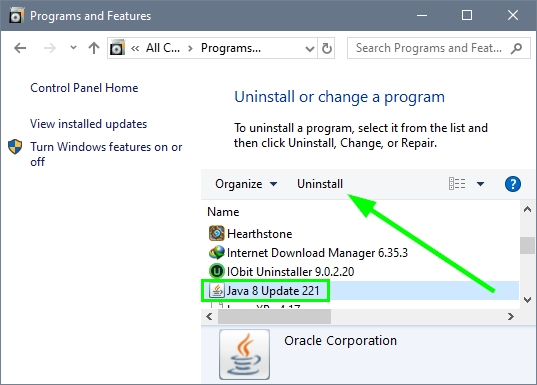
- Restart your computer to apply the changes and then try again to install or update Java
Disable Antivirus
If you have installed an antivirus like Avast, ESET, etc., you can try to disable it easily using the icon located in the taskbar.
For the Windows Defender antivirus, you can try to disable it from the Task Manager.
Note: Remember to enable the antivirus once you finished the java installation or update.
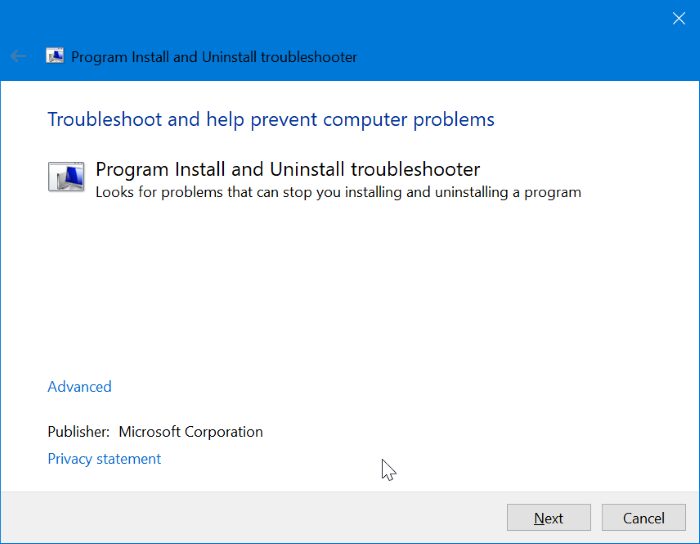
Run Troubleshooter
Windows 10 includes several utilities designed to analyze and fix problems and bugs on the system. One of those tools is “Microsoft Programs Install and Uninstall.”
- Download the troubleshooter from here.
- Run the file download and click on the Next button
- The utility automatically will start looking for problems
Remove KB2918614 Update
This Windows Update for the 64-bit system has been generating failures with Java in several computers, in those case is recommendable to uninstall it immediately.
To uninstall the update, follow these steps:
- Use the following keyboard shortcut: Win + R
- Type the command
appwiz.cpland hit Enter - In the window that opens, click on the option View installed updates
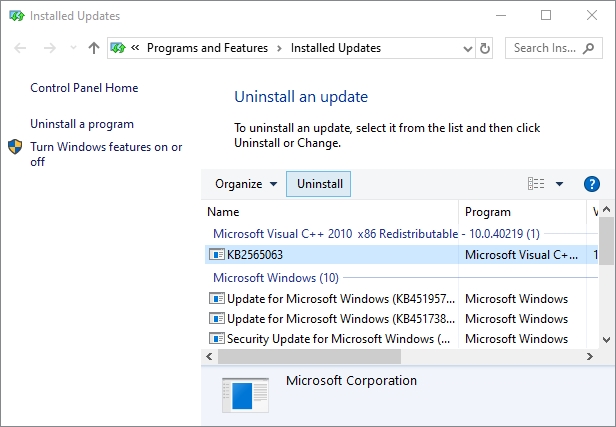
- If you have installed the update, select it and click on the button Uninstall
With some of those easy solutions, you will fix the 1603 java error quickly on WIndows 10 and continue the installation process correctly without any problems.
Read more: How to Open JAR Files on Windows 10