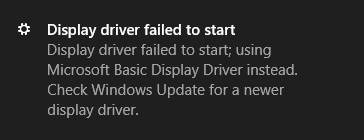
When you see the message “Display driver failed to start,” you may be wondering is there something wrong with your graphics cards or display driver.
This problem is quite common and has several fixes and tips that you can try on your computer that could fix the issue.
All the methods I will leave below are thoroughly tested on Windows 10, but they could also work on Windows 8 and 7.
Method #1: Update Graphics Card
This is the first thing that you should try when there is something wrong with the display adapter.
Keeping your drivers updated will ensure your system performance on games and also programs.
To update your graphics, you have three options that I will show you below:
Option #1: Update Graphics from Device Manager
If you recently have seen the starting error of the display adapter, you can use the Device Manager to perform a quick for available updates of your display adapter. Follow these steps:
- Press the keys Win + R and the window that opens copy the command
devmgmt.msc, then press Enter - Once in the Device Manager, open the section Display Adapters
- There, right-click o your default display adapter and then select Update Driver
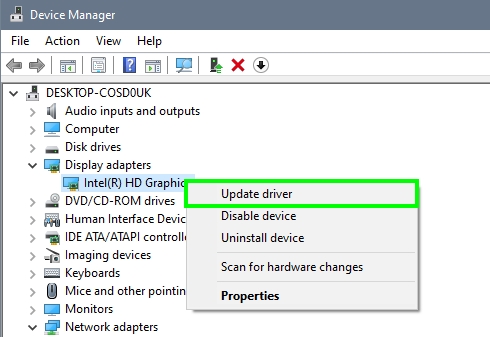
- Now, a new window will open with two different options: The first to search drivers automatically and the other to find your driver files on your computer
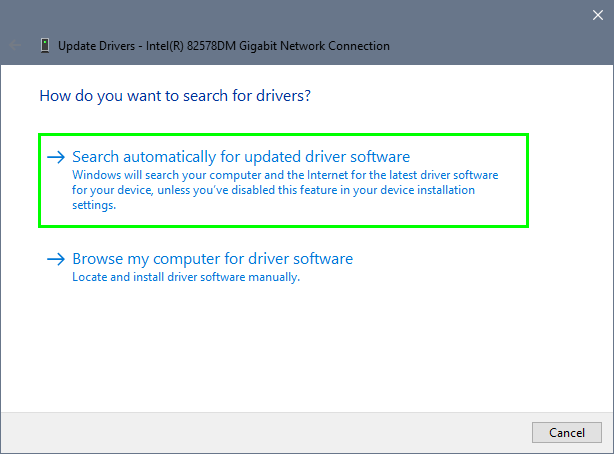
- You can choose the first one on this occasion and let Windows search for any available update that you can install for your display adapter
Option #2: Download Graphics Drivers from Manufacturer
If Windows doesn’t find any update for your display adapter, you can try to visit the manufacturer website to download the latest drivers and install them manually.
To do that, follow these steps:
- You have to visit the Intel, NVidia or AMD drivers page and download your drivers from there.
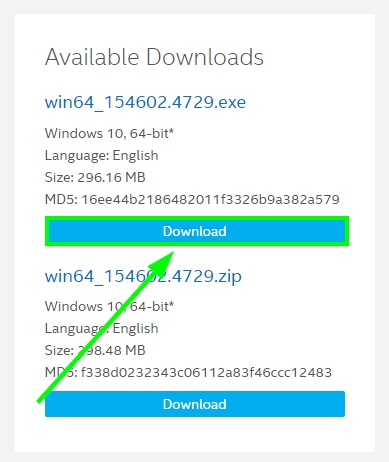
- Once download, you only need to open the file a follow the wizard until your drivers are fully installed
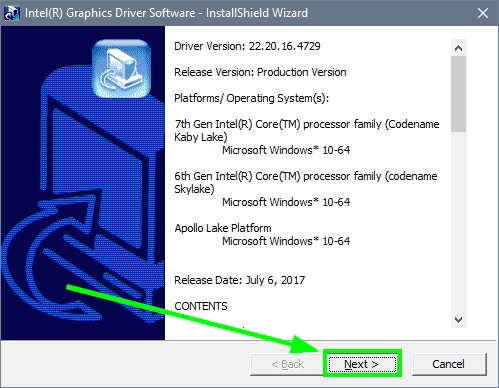
- Then, restart your computer and verify that the display driver error has been fixed successfully
Option #3: Update Display Adapter Automatically
There is the third option that lets you update your display adapter automatically and even periodically, and you only will need to perform two clicks to do this.
To do this, you will need to downoad a driver updater, and you do it, following these steps:
https://www.iobit.com/en/driver-booster.php
- Click here to download Driver Booster
- Once download, open the file and follow the wizard until you install the software, be careful you can choose if you install SystemCare or not
- Once installed, click on the button that says SCAN
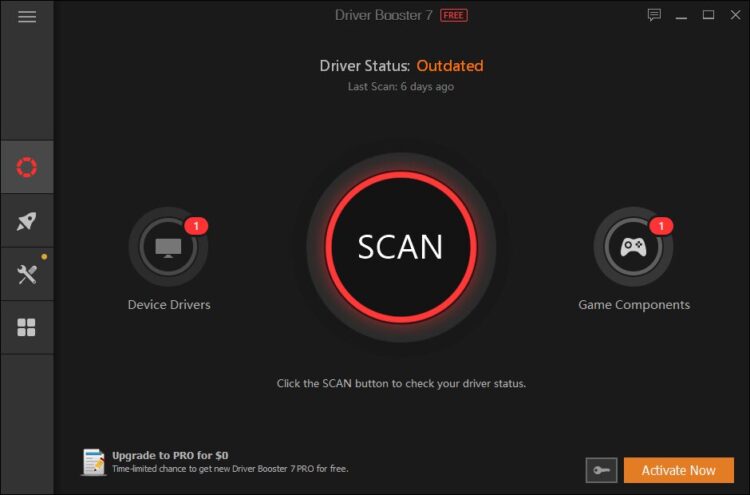
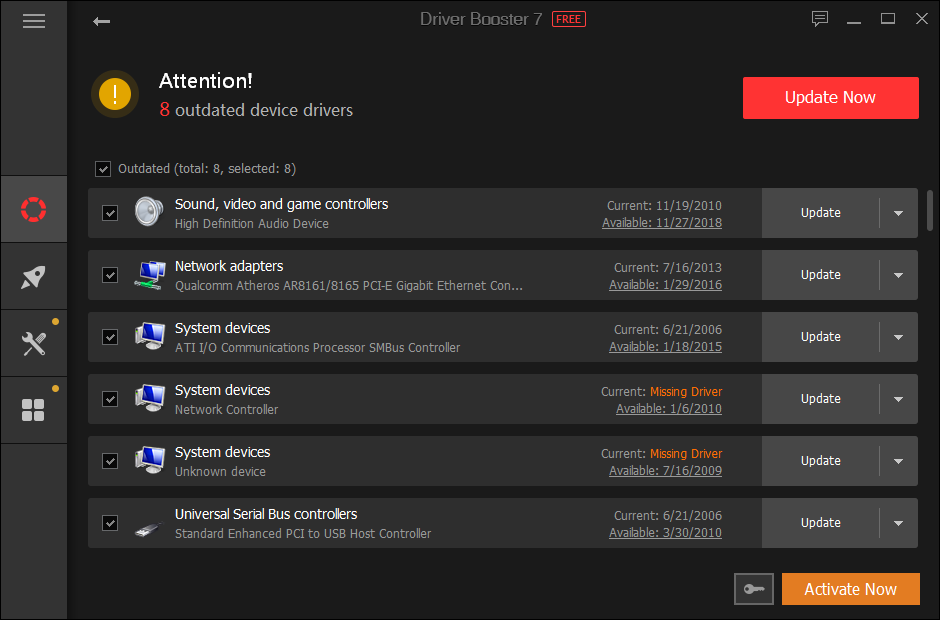
- Now, the program will start scanning your devices and your display adapter, when it finds any update, it will show you a summary of them
- Find the section Display Adapter and click on the button Update Now next to it
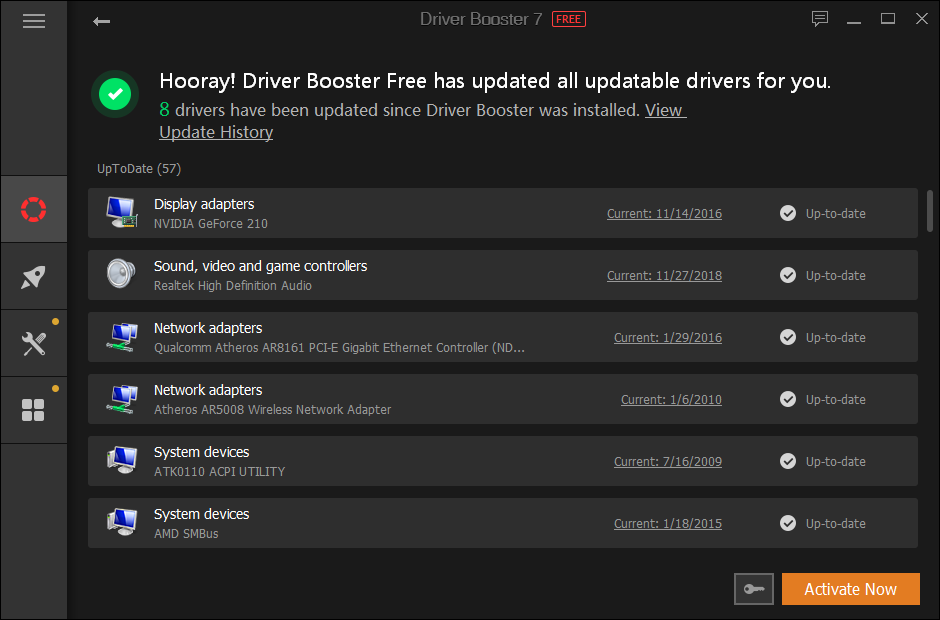
- When the updating process finishes, restart your computer and check if the display adapter starting error has been fixed
Method #2: Run Troubleshooter
On Windows, you have useful tools that will help you to fix several problems on the computer. You have the SFC command and also DISM.
But when you have problems with the display adapter, you can use a useful utility called the Troubleshooter.
There are several Troubleshooter on Windows 10, but on this occasion, I will show you how to run the Hardware and Devices troubleshooter following these steps:
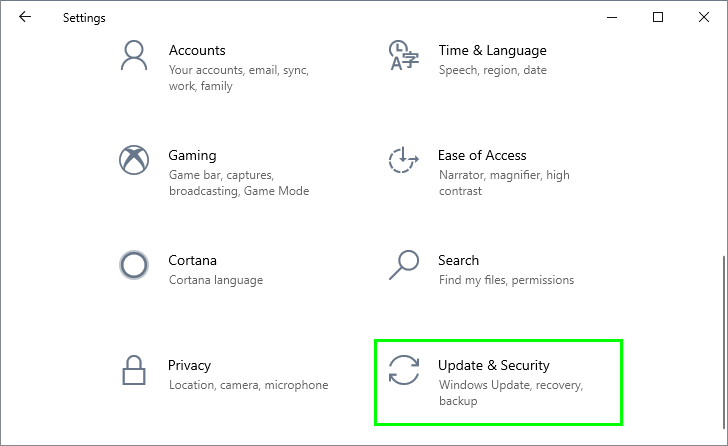
- Open the Windows Settings using the keyboard shortcut Win + I
- Scroll down and click on the section Update & Security
- On the left side menu, select the option Troubleshoot
- Now, on the right, scroll down and click on Hardware and Devices, then click on Run the Troubleshooter
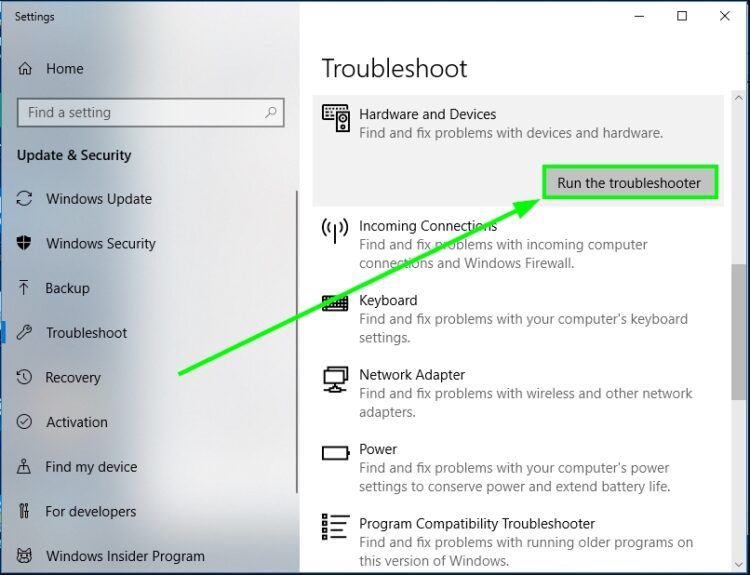
- Finally, the utility will start scanning your system for problems and then will give several options that you can choose to fix this issue
Method #3: Disable Visual Effects
Windows is always adding new visual effects to the OS every time it releases a new update. Those visual effects are crisp and give your computer style, but sometimes these ornaments that could be affecting your display adapter and therefore be the reason why you that message.
You can try to adjust your settings to use less visual effects to fix the display adapter starting issue following these steps:
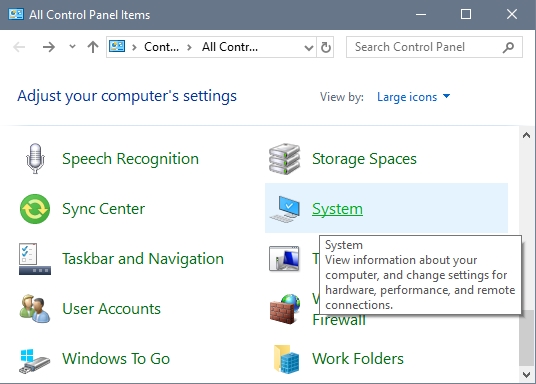
- Press the keys Win + R and there copy the command
control, then press Enter - Once in the Control Panel, sort the view by icons and then click on the section System
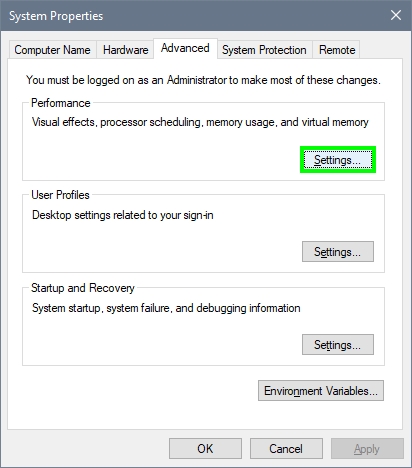
- On the window that opens, click on the line Advanced system settings
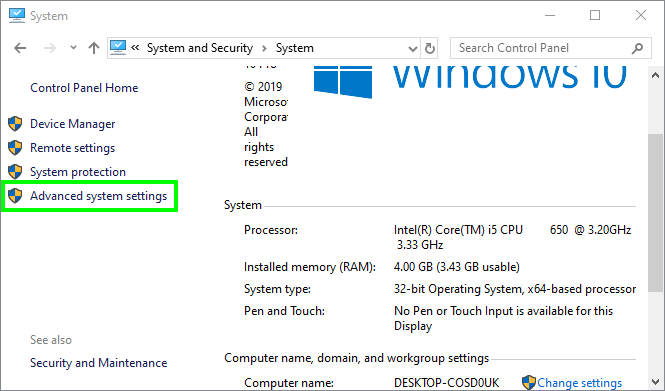
- In the System Properties window, click on the button Settings under the section Performance
- There you will have a list of visual effects that you can disable to improve the display adapter performance. I recommend you to click on the option Adjust for best performance to fix this display adapter starting issue
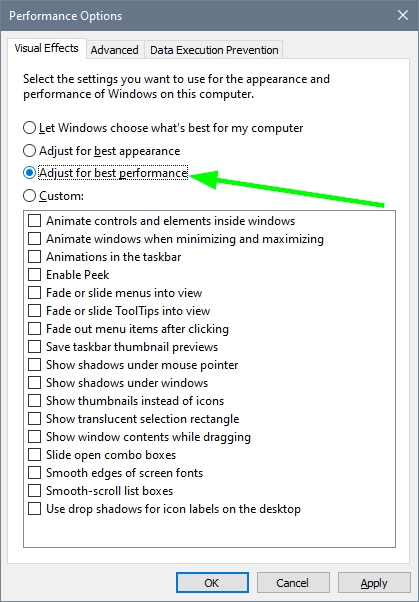
- Once done, click on Apply and OK to save the changes
- Now, you can restart your computer and verify that the error has been fixed
Method #4: Update Windows 10
Like I said in the previous method, Windows is constantly releasing updates that bring to your system new features or visual effects. But some of these updates are actually patches and bug fixes that could be solved your display adapter failed to start problem.
Although Windows is constantly searching for new updates by default on your computer, you may have disabled that feature, and you will need to check for updates manually to install the latest ones.
To update Windows 10, follow these steps:
- Press the keys Win + I to open the Windows Settings
- Once there, scroll down and click on Update & Recovery
- Now, you will be placed in the Windows Update window, if not, click on that option in the left side menu
- Finally, you only need to click on the button Check for updates and wait
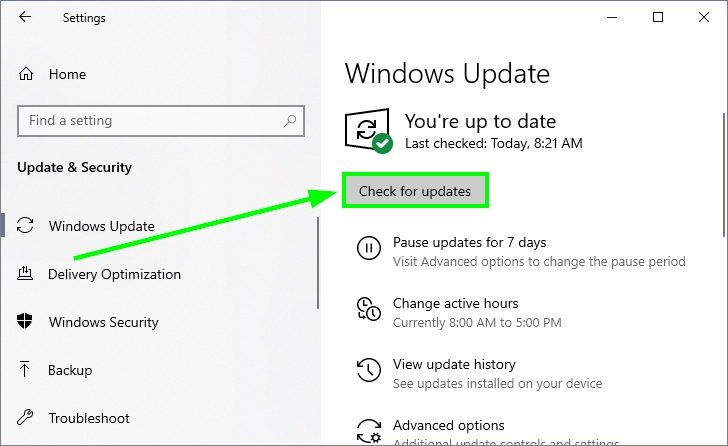
- When Windows finds any update it will ask you if you want to install it, choose Yes and install all the updates available
So far, those were the best methods that could your display adapter starting problems and even improved the performance of your computer.
Remember that if you haven’t been able to fix this issue, you can reach in the comments section below, I will try to help you the soonest I can
Now, I will leave some other problems related that you may also need: