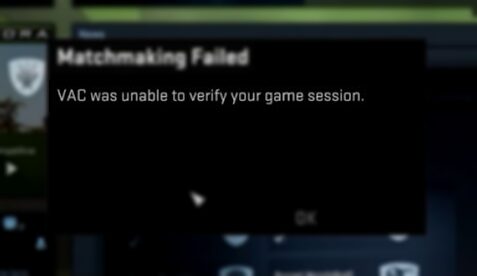
You want to play online on CS:GO, but you see the error: VAC was unable to verify the game session? In this post, I will show you several ways to fix this error.
Note: The methods I will leave below only work for the official Steam cs:go version, if you installed a non-steam version, the methods may not work.
Method #1: Verify Game Data
The first thing that you should do to try to fix this error is to verify that your game data isn’t corrupted. You can do that, following these steps:
- Open the Steam client
- Navigate to your Games library
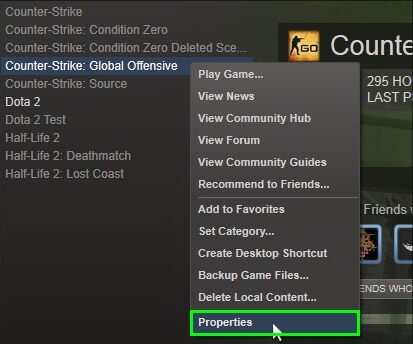
- Find and right-click on the Counter-Strike: Global Offensive game and in the menu select Properties
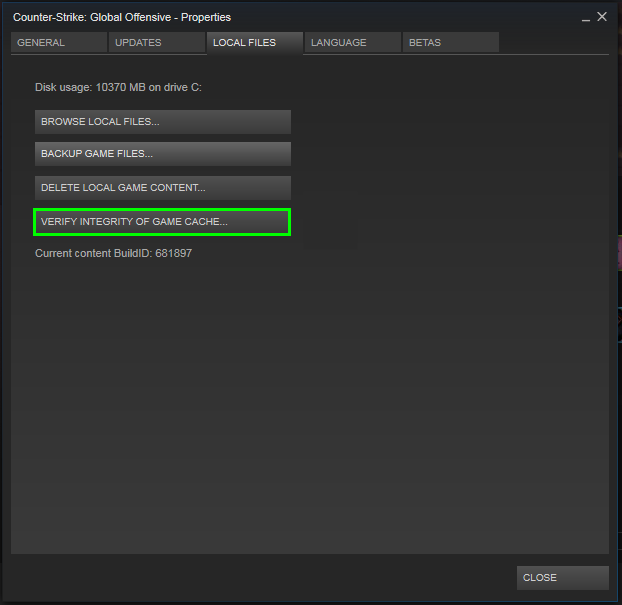
- Once opened, navigate to the LOCAL FILES tab
- There, click on the button VERIFY INTEGRITY OF GAME FILES
- Finally, you only need to wair for the process to end
After the verify process finished, you will be able to matchmaking on CS:GO without any problems.
Method #2: Run Steam as Administrator
Running Steam as an administrator could fix several problems with your games. This is because Steam needs unique attributes to open networks and connect to several servers for multiplayer games. Therefore you can try this to fix the error, following these steps:
- Close Steam from the Task Manager, you can open it with the keyboard shortcut: Ctrl + Shift + Esc
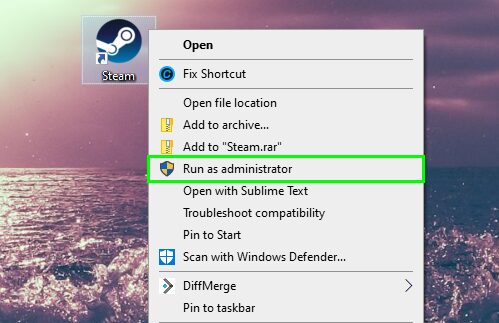
- Now, go to your desktop and right-click on the Steam shortcut
- Finally, in the menu that opens, select Run as Administrator
- Now, try to join any match on CS:GO
If you fixed the problem after running Steam as an administrator, you would need to repair the Steam service to be able to play the game without admin rights.
Method #3: Repair Steam Service
Steam recommends fixing the Steam service when you have any problem with VAC. You can follow these steps:
- Rightclick on the Taskbar and in the menu select Task Manager

- Once, there find the Steam process and click on the button End task
- Now open the Run window using the keyboard shortcut: Win + R
- In the box enter the word
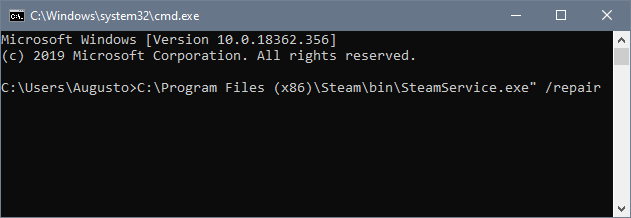
cmdand press the keyboard shortcut: Ctrl + Shift + Enter - Once in the Command Prompt with administrator rights, copy and run the following command:
C:\Program Files (x86)\Steam\bin\SteamService.exe" /repair
- When finished, open Steam and start CS:GO
Method #4: Repair Library Folders
On this method, you will repair your entire library folder. This will fix any problem with your games data and hopefully fix CS:GO.
- Open the Steam Client and click on the menu Steam and then on Settings
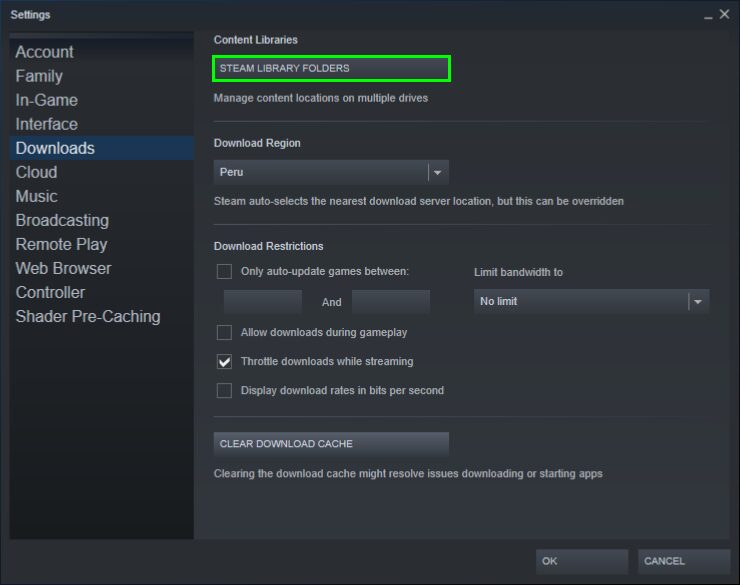
- A new window will open, there on the left side, navigate to the section Downloads
- Now, on the right, click on the button STEAM LIBRARY FOLDERS
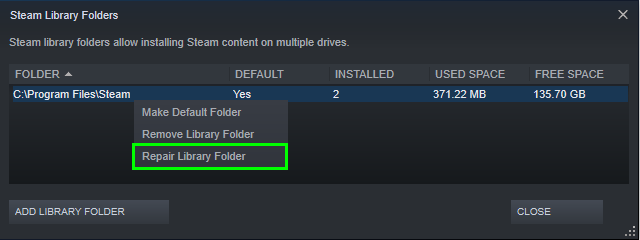
- There, right-click on your default folder and in the menu select Repair Library Folder
- Finally, the Command Prompt will open and click on the Yes button to gran admin permission
- Once finished, try to matchmaking again.
Method #5: Log Out from your Steam Account
This is another method that you can try to fix the VAC error. Sometimes reaccess to your Steam account could fix several problems and restart your login data in the PC. To do that, follow these steps:
- Open the Steam Client
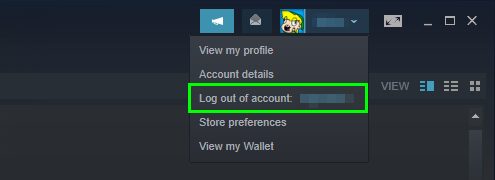
- Click on your username at the upper right and in the menu select Log out of account
- Finally, wait some minutes and then log in to your account
Method #6: Uninstall Third-Party Software
Some programs create conflicts with Steam and the CS:GO servers. If you have any of the software on this list, you need to uninstall it following these steps:
Software that you need to uninstall: CCleaner, Sandboxie, Cheat Engine, IObit Start Menu 8, Process Hacker, DLL Injectors.
Uninstall programs from Control Panel
- Open the Start Menu and search the word
control - On the results, click on Control Panel

- Now, click on the option Programs and Features
- Once, there you need to select the programs that I leave above, and then click on the Uninstall button

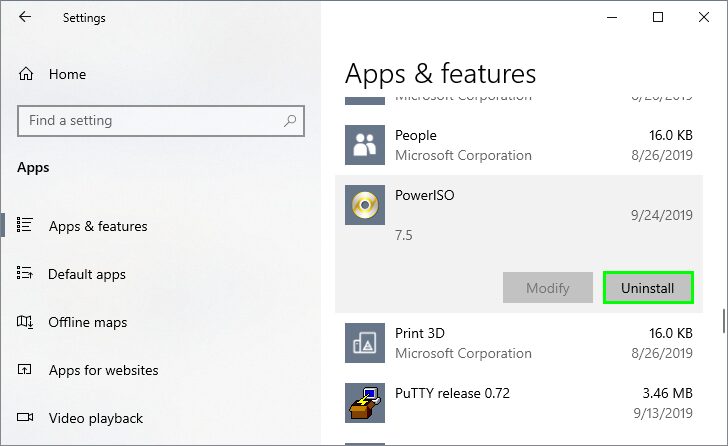
Uninstall programs from Settings
- Open the Settings using the keyboard shortcut: Win + I
- In the window that opens, click on the section Apps
- On the right side, search the conflictive program and then click on the Uninstall button
Method #7: Update your Drivers
If any of the methods above help you to fix this VAC error, something that you can try is to update your device drivers to troubleshoot any conflict.
Update Drivers from Windows Update
Windows 10 let you update all your drivers at once using the Windows Update feature, and you try this following these steps:
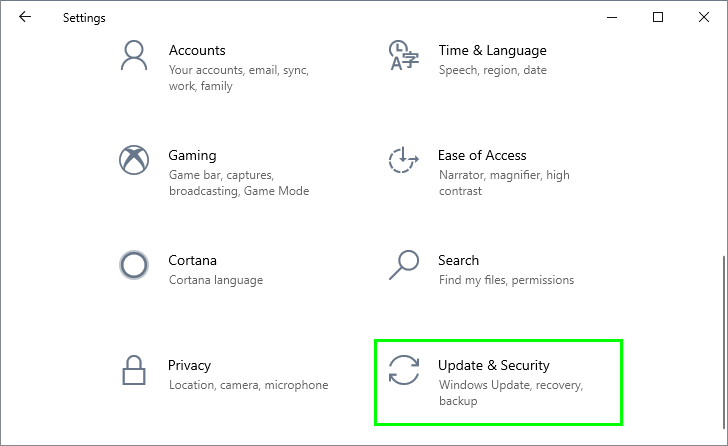
- Open the Start Menu and click on the Settings button located at the left side

- Once there, click on the section Update & Security
- On the left side, click on Windows Update
- Finally, on the right, click on the button Check for updates
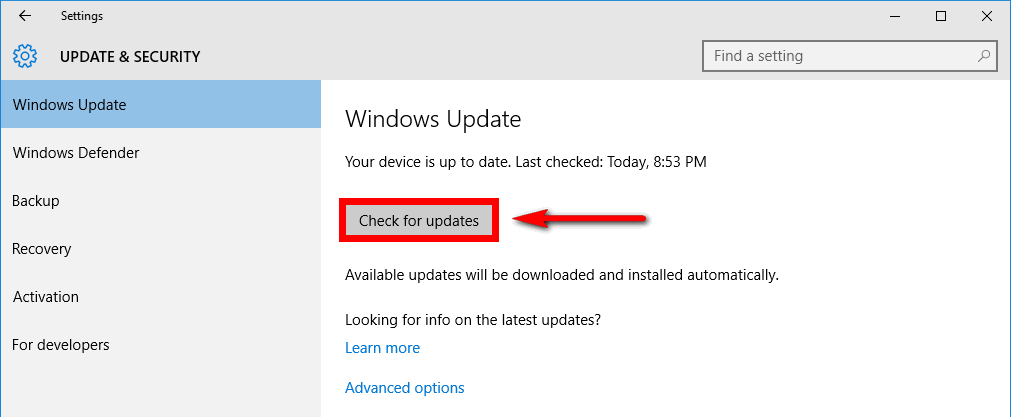
- There, Windows will search for any update available for your system and your devices and install them all for you.
Update Drivers Manually
You can also update your drivers manually with each device one by one, follow these steps:
- Rightclick on the Start Menu and in the menu that opens select Device Manager
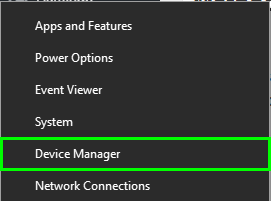
- Once opened, find your device and right-click on it, in the list choose Update driver
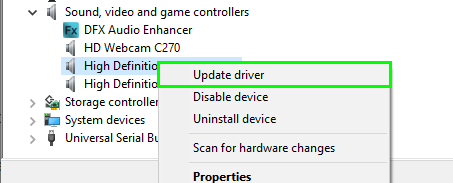
- Finally, on the window that opens, select the option Search automatically for drivers or the second option if you have downloaded your driver’s files.
Method #8: Reinstall CS:GO
This one is the last thing that you can try to fix this error, and although it will take a long time, surely it will fix any problem with the game itself.
To reinstall Counter-Strike: Global Offensive, follow these steps:
- Open the Steam client
- Go to your Games Library
- There, right-click on the CS:GO game and in the menu select Uninstall
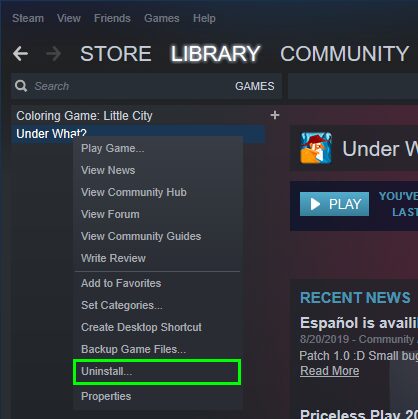
- A window will open asking you if you want to uninstall the game, there click on the Delete button to complete the process
- Once uninstalled, restart your computer
- Now, you only need to open Steam and download CS:GO, this process will take some time depending on your internet speed, but after this, you will be able to fix the error.
Wrapping Up
Those were the best ways to fix this VAC error on Windows, but remember to be careful when you follow these methods.
If you haven’t been able to fix the error, you may need to contact the Steam support on the following link, there you will find more steps to follow, and you also can contact the support directly by email.
Must read: How to Fix PUBG Failed To Initialize Steam
I hope this tutorial helps you if you have any question, let me know in the comments section.